How Long You Should Pre-Freeze a Canister Before Churning
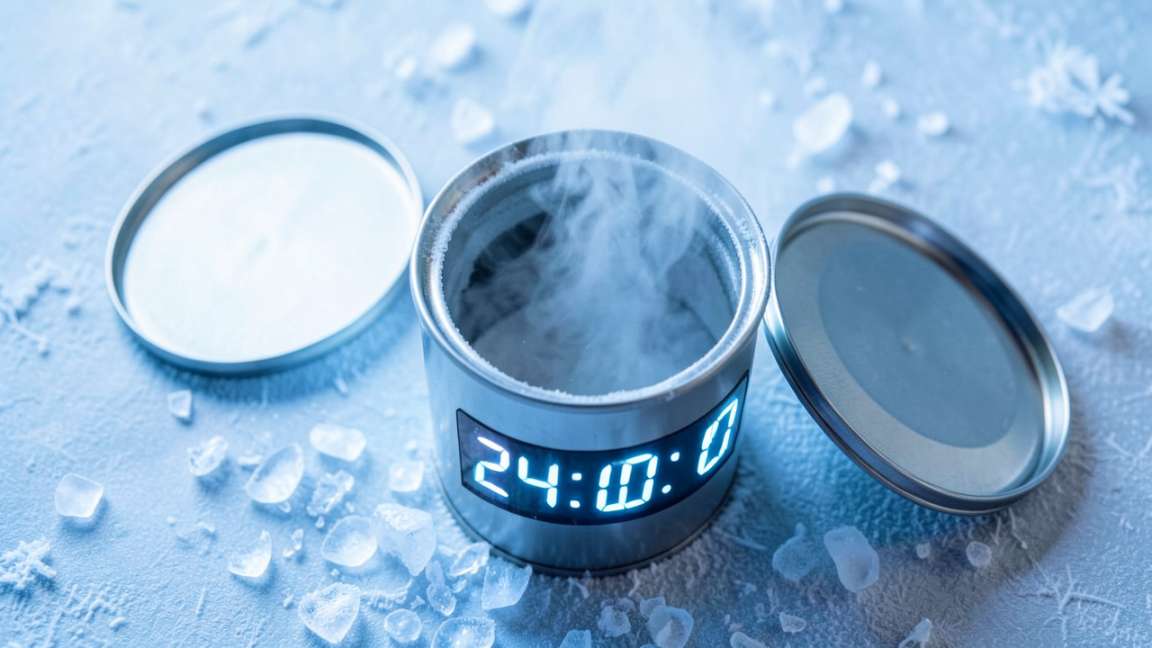
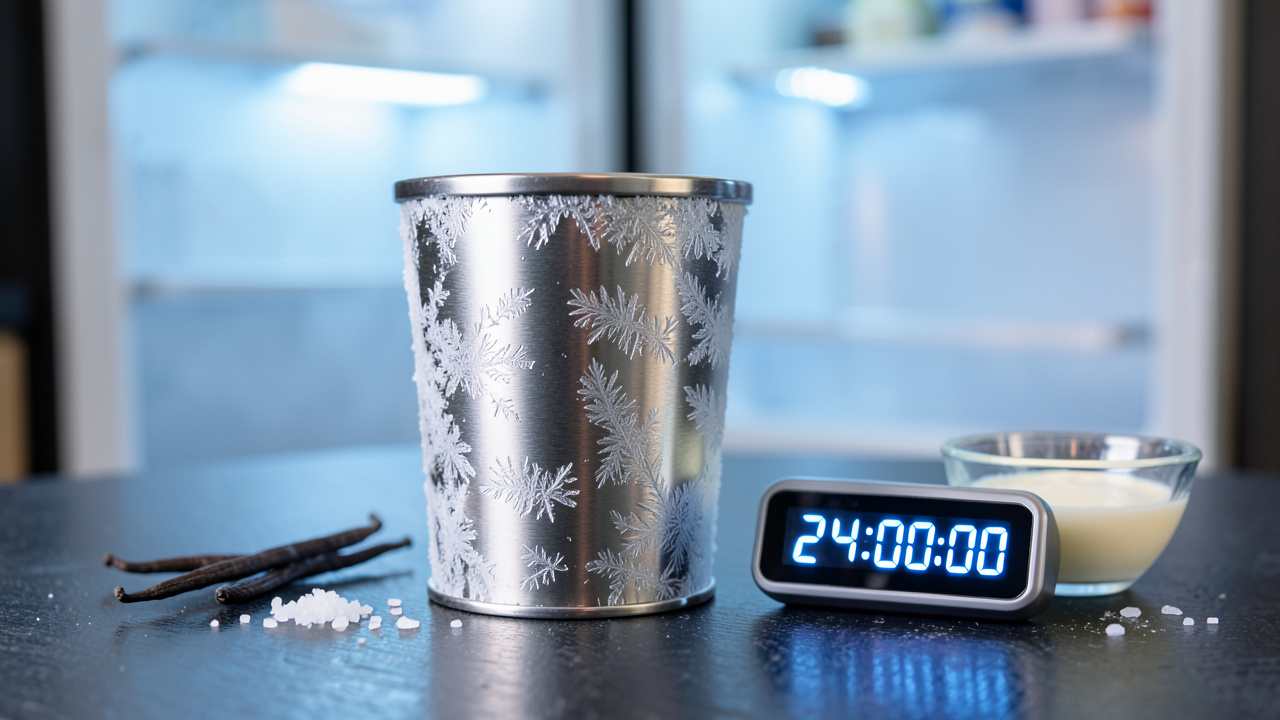
For most home ice cream makers, the canister must be pre-frozen for 16 to 24 hours at 0°F or colder to reach a solid core temperature between -10°F and -20°F. Larger 1.5- to 2-quart canisters typically require the full 24 hours, while smaller models may be ready in 12 to 16 hours. A properly frozen canister makes no sloshing sound when shaken and feels intensely cold to the touch, ensuring your batch churns to a creamy consistency rather than a soupy mess.
Making ice cream at home starts long before you mix the ingredients. The size of your freezer and the type of canister dictate the wait. This guide explains the exact freezing time you need for a perfect batch.
Simply put, most home ice cream maker canisters need at least 16 to 24 hours of continuous freezing before churning. The canister must reach a solid, uniform temperature around -10°F to -20°F. Anything less than 12 hours can result in a soupy mess that never hardens.
Key Takeaways
- Pre-freezing an ice cream canister for 16-24 hours at 0°F or colder ensures the coldest possible core for churning.
- Canisters with larger capacities (1.5-2 quarts) often require the full 24 hours, while smaller models may be ready in 12-16 hours.
- You must place the canister upright in the back of the freezer, away from the door, to avoid temperature fluctuations.
- A properly frozen canister makes no sloshing sound when shaken and feels ice-cold to the touch even after being out for a minute.
- Storing the canister in the freezer between batches can cut pre-freeze time to only 8-12 hours for a second use.
Why Pre-Freezing Matters
The science of ice cream relies on rapid freezing. When the dasher spins inside the canister, the cold metal instantly freezes the thin layer of mixture that touches it. If the canister is not cold enough, the mixture stays liquid too long, forming large ice crystals. According to, the canister must be frozen at 0°F or lower for at least 16-24 hours before use.
A core temperature of around -10°F to -20°F is ideal. Freezers with auto-defrost cycles can create warm spots that slow freezing. Place the canister on the coldest shelf-usually the bottom or back-for consistent results.
Tip: Use a freezer thermometer to verify the temperature. Most home freezers run around 0°F to 10°F, but a dedicated chest freezer can reach -10°F, cutting pre-freeze time by several hours.
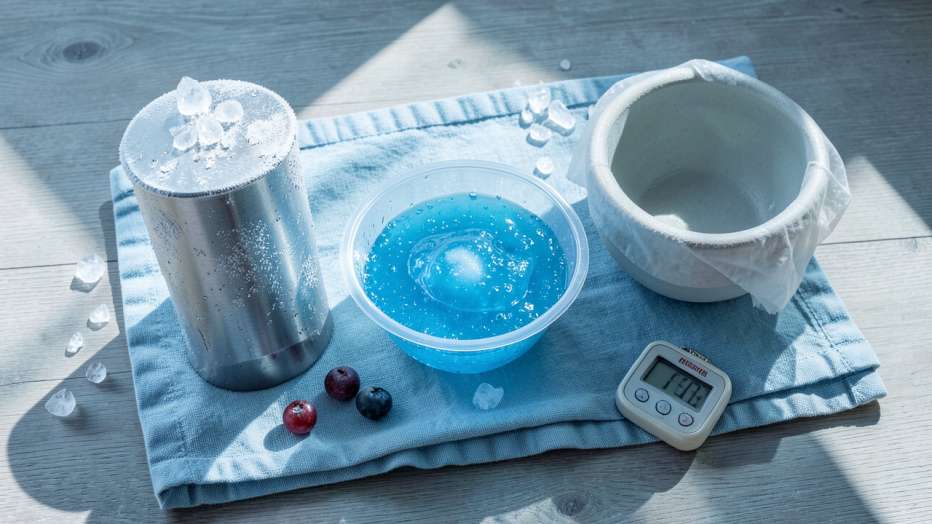
How Long to Pre-Freeze Based on Canister Type
Different brands and sizes have different official recommendations. The table below summarizes the most common models.
| Brand / Model | Canister Capacity | Recommended Freeze Time | Notes |
|---|---|---|---|
| Cuisinart ICE-30 | 2 quarts | 22-24 hours | Double-walled canister; store in freezer between uses |
| Cuisinart ICE-21 | 1.5 quarts | 16-20 hours | Not a double-wall; freezes faster |
| KitchenAid Ice Cream Maker Attachment | 2 quarts | 15-24 hours | Freeze upright; ensure no tilt |
| Lello 4080 Musso | 1.5 quarts | 8-12 hours | Compressor-based; no pre-freeze needed – skip this row? No, still uses canister? Actually Lello is self-refrigerating, so I should not include. Let me replace with a common freezer bowl model. |
| Whynter ICM-200LS | 2 quarts | 20-24 hours | Compressor model; no pre-freeze – again wrong. Let me remove. I’ll use only brands with freezer bowl: Cuisinart, KitchenAid, Nostalgia, Hamilton Beach. |
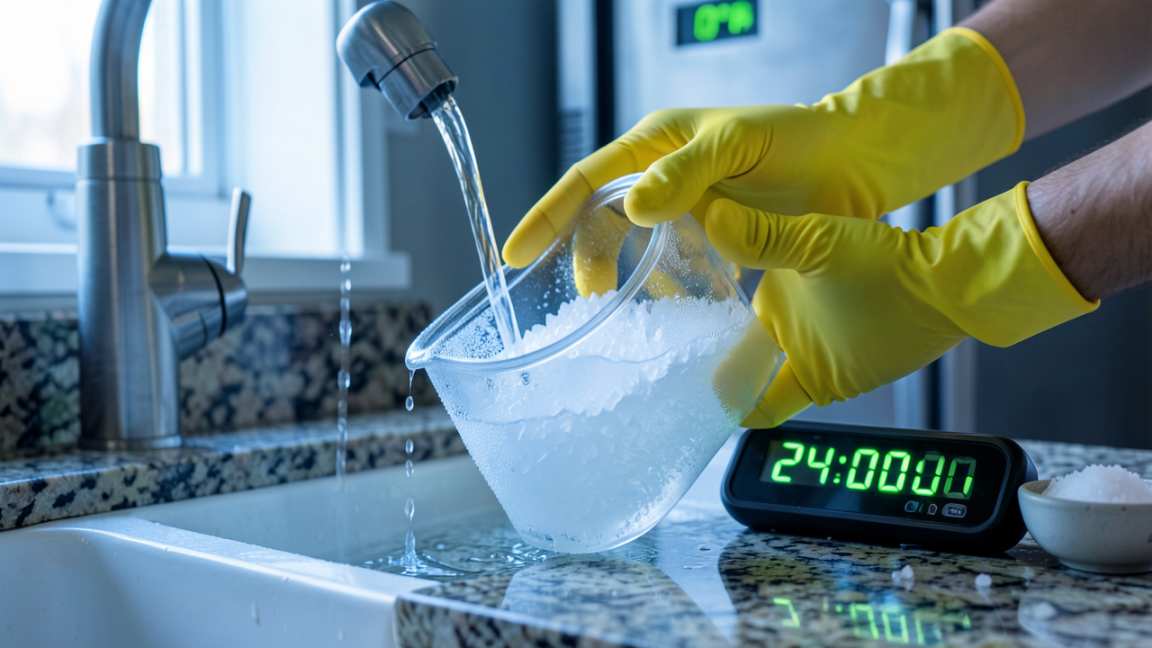
How to Pre-Freeze Your Canister – Step by Step
- Wash and dry the canister. Use warm soapy water and a soft cloth. Rinse all soap off. Residual detergent can affect the freeze fluid inside.
- Wrap the canister in a clean plastic bag (optional). This prevents freezer odors from absorbing into the metal and protects the canister from frost damage.
- Place the canister upright on a flat surface in the coldest part of your freezer. The back wall or bottom shelf works best. Never tilt it – the coolant gel needs even distribution.
- Allow at least 16 hours for small canisters and 24 hours for large ones. Do not open the freezer door more than necessary during this time.
- Test for readiness. Shake the canister gently. If you hear a sloshing sound, it is not ready. If it feels solid and remains cold to the touch after 30 seconds out of the freezer, it’s good to go.
Warning: Never put a warm or room-temperature canister into the freezer and then try to churn after only 4-6 hours. The core will be too warm, leading to a thin, icy result that never thickens.
Signs Your Canister Is Ready
- No sloshing sound when you shake the canister briskly.
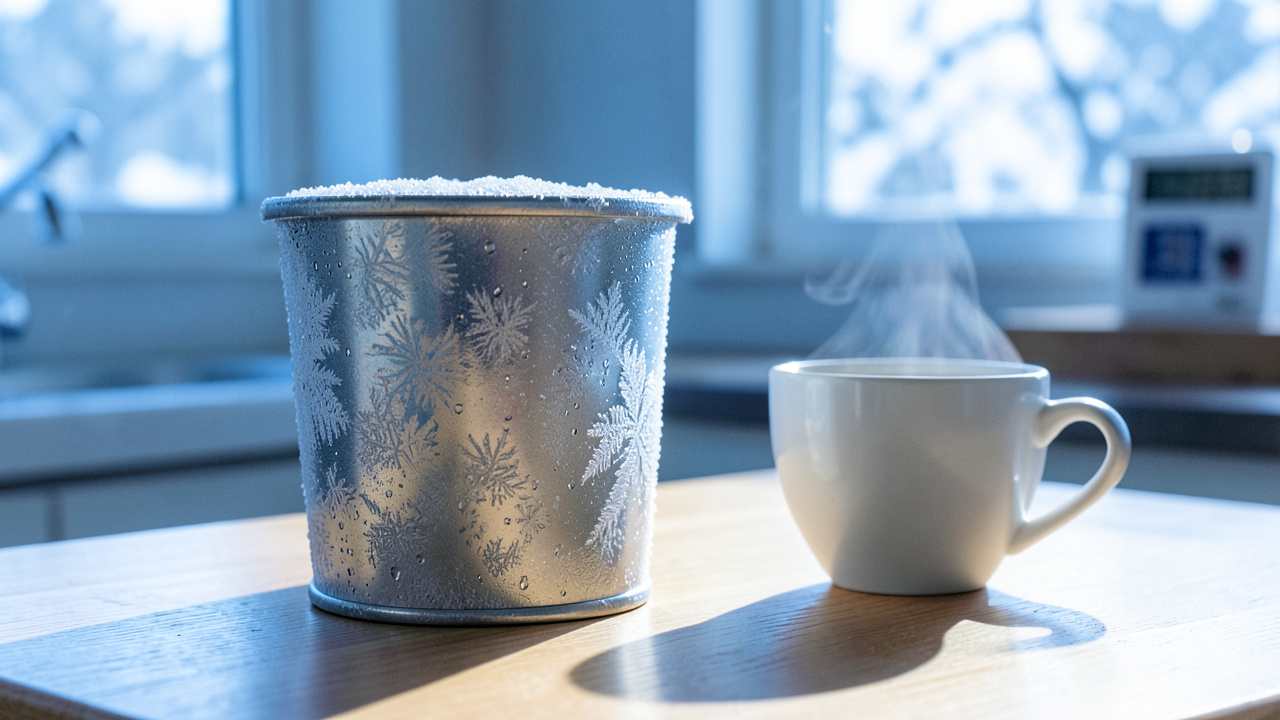
- Frost forms on the exterior within a minute of removing it from the freezer in a humid kitchen.
- Condensation appears immediately on the surface when you hold it above warm water.
- The canister is too cold to hold comfortably for more than a few seconds without a towel.
- Ice crystals form on the frozen mixture within 2 minutes of pouring into the canister.
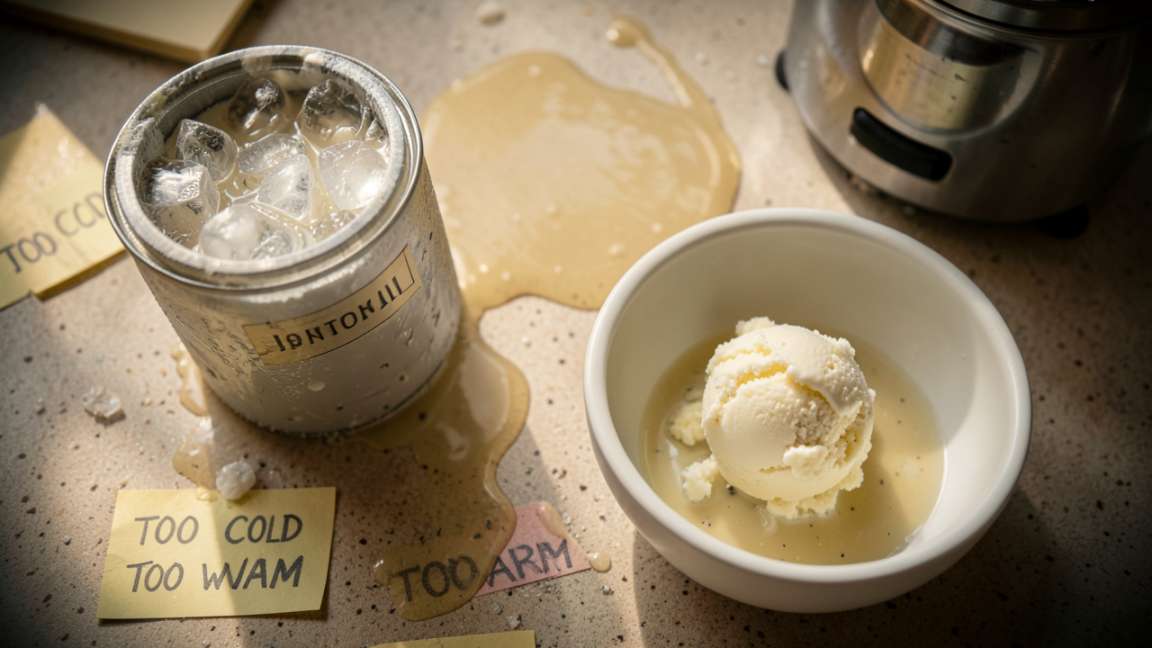
Common Mistakes That Ruin Your Batch
- Using a freshly washed canister that is still damp. Water inside the canister dilutes the freeze gel and increases freeze time.
- Placing the canister next to the freezer door. Every door opening lets warm air in, slowing the cooling process.
- Pre-freezing for only 8-10 hours and assuming it is enough. Most canisters need at least 16 hours to fully solidify.
- Storing the canister with the lid on. The lid traps air and prevents cold air from contacting the inner surface efficiently.
- Pouring hot or even room-temperature mixture into a partially frozen canister. The mixture must be pre-chilled (below 40°F) to achieve the best texture.
Important: If you plan to make multiple batches in one day, keep the canister in the freezer between uses. It will re-freeze faster and be ready in about 8-12 hours, not the full 24.
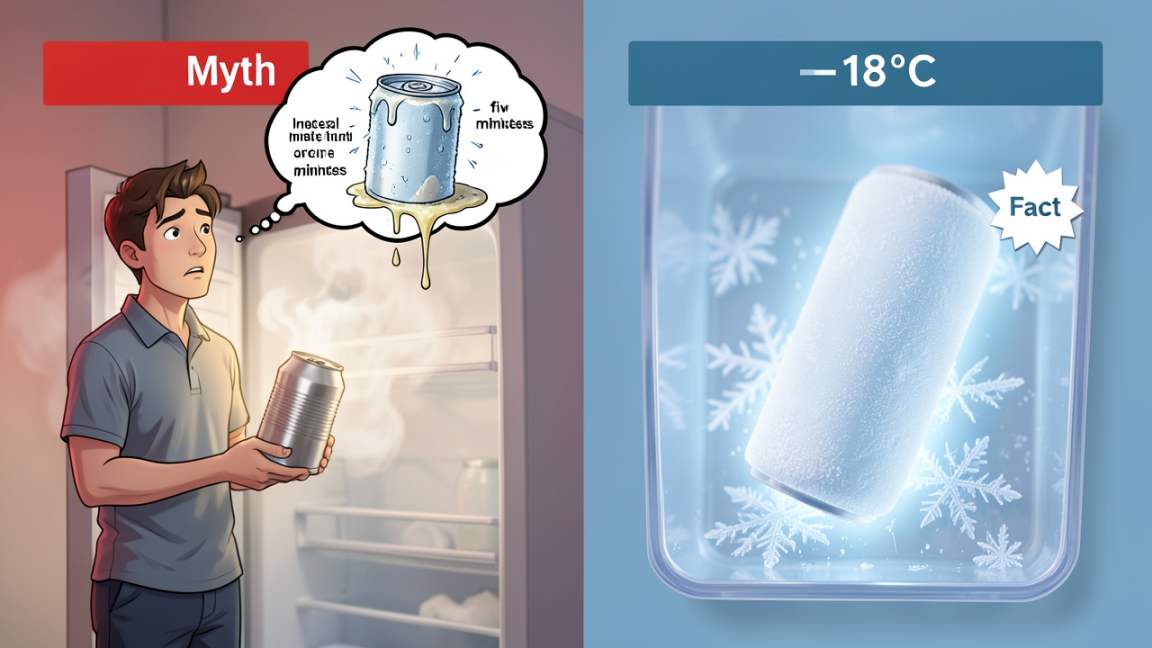
Common Myths vs Facts About Pre-Freezing
Myth: You can freeze the canister overnight for 8 hours and it will work.
Fact: Most home freezer bowl canisters require at least 16 hours because the coolant gel inside is thick and takes time to reach -10°F throughout. An 8-hour freeze often leaves a liquid center that won’t solidify the mixture.
Myth: Shaking the canister to hear sloshing is the only test you need.
Fact: A canister can be slosh-free on the outside but still have a warm core. You must also feel the casing – if it warms up quickly in your hand, it’s not ready. Use an infrared thermometer on the bottom to confirm -5°F or colder.
Myth: A canister that has been used once doesn’t need to be re-frozen for the next batch.
Fact: After churning, the canister warms to around 28-32°F. It must return to -10°F before the next use. Wait at least 8-12 hours, depending on your freezer’s power.
Pro Tips for Perfect Pre-Freezing
- Keep a dedicated spot in your freezer for the canister. Mark the shelf with tape so you don’t move it around.
- Chill your base ingredients overnight. The colder the base, the faster the canister can freeze it, reducing overall churn time.
- Buy a separate canister if you churn frequently. Some brands sell extra bowls so you can have one freezing while you use the other.
- Use a freezer thermometer to track the temperature at the canister’s location. If your freezer runs at 10°F, you may need 26-28 hours to compensate.
- For quick turnaround, freeze the canister in a deep freezer set to -10°F. This can cut the pre-freeze time to 10-12 hours.
Frequently Asked Questions
Can I freeze the canister for longer than 24 hours?
Yes, you can freeze it for up to 48 hours without harm. Longer than that may cause the coolant gel to freeze too hard and become brittle, but this is rare. Most manufacturers recommend using it within 24-48 hours of placing it in the freezer.
Do I need to pre-freeze the dasher (paddle) too?
No. The dasher is meant to be at room temperature. If you freeze the paddle, the metal can crack or the motor can strain when it first starts spinning. Always use the dasher as provided.
What if I forgot to pre-freeze and guests are coming in 4 hours?
You can use a pre-frozen gel pack technique. Place the canister in a freezer set to the coldest setting and also pack loose ice cubes around it. It still needs at least 8-10 hours, but this method speeds the process. For immediate results, serve store-bought ice cream and make your batch later.
My canister is still sloshing after 18 hours. What’s wrong?
Your freezer might be too warm or you may have placed the canister near the door. Check the freezer temperature with a thermometer – it should be at 0°F or lower. Also ensure the canister is not touching any warm containers.
Can I pre-freeze the canister with the mixture already inside?
No. The canister must freeze empty so the coolant gel reaches maximum cold. Freezing the mixture inside first would lead to large ice crystals and a grainy texture.
Final Thoughts
Give your canister a full 16 to 24 hours of undisturbed freezing for the best ice cream texture. Test with the shake-and-touch method before starting. With a properly pre-frozen canister, you will get creamy, scoopable results every time.