Making Dairy-Free Ice Cream Work in a Standard Home Machine
Making dairy-free ice cream work in a standard home machine requires increasing the fat content above what plant milks provide, typically by blending in full-fat coconut milk, cashew cream, or nut butters. The primary challenge is preventing ice crystals, which is solved by adding stabilizers like guar or xanthan gum to trap air and using invert sugar or a small amount of alcohol to lower the freezing point. Without these adjustments, the base will freeze too hard and icy instead of smooth and scoopable.
Making creamy dairy-free ice cream at home is harder than most people expect. Standard home ice cream machines work well with heavy cream and eggs, but plant-based bases behave very differently. This guide shows you exactly how to adjust your recipes and techniques so your dairy-free ice cream turns out smooth and scoopable every time.
Quick Verdict: Simply put, dairy-free ice cream fails in standard home machines because plant-based milks contain less fat and more water than dairy cream. To make it work, you must increase the fat content, add stabilizers, use the right sugar type, and pre-chill your base longer than a dairy recipe requires. Without these adjustments, your ice cream will turn icy and hard.
Key Takeaways
- Dairy-free ice cream requires a higher fat content than what single plant milks provide, so you must blend full-fat coconut milk, cashew cream, or nut butters into your base.
- The freezing point of plant-based bases is different from dairy, and adding a small amount of alcohol or invert sugar prevents ice crystals from forming.
- Stabilizers like guar gum, xanthan gum, or locust bean gum are essential for trapping air and creating a creamy texture in the home machine churn.
- Pre-chilling your ice cream base for at least 6 hours (or overnight) is critical because plant-based bases do not thicken as quickly as dairy cream in the freezing process.
- You can use most standard home ice cream machines for dairy-free recipes as long as you adjust the churn time and use the right base consistency before starting.
What Makes Dairy-Free Ice Cream So Hard
Dairy ice cream gets its creamy texture from milk fat and egg yolks. These ingredients trap air during churning, create small ice crystals, and keep the final product soft at freezer temperatures. Plant-based milks lack this natural structure.
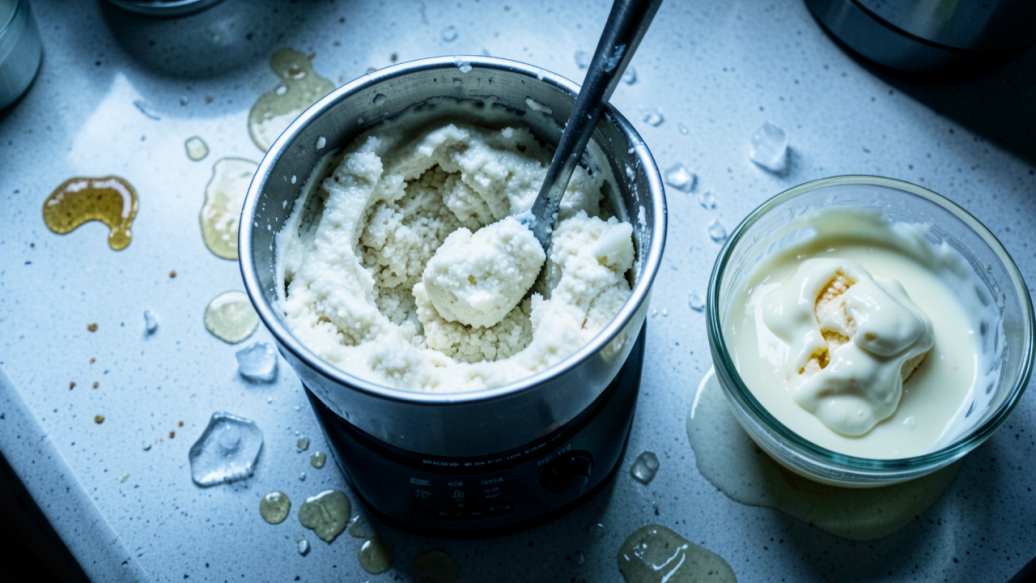
According to the, standard ice cream contains at least 10 percent milk fat. Most plant-based milks contain less than 3 percent fat. This difference changes everything. Without enough fat, the ice cream freezes into a solid block of ice.
The Science of Plant-Based Freezing
When you freeze a dairy base, the fat globules and proteins form a stable network that holds water in place. Plant-based proteins do not work the same way. A study published in the found that plant-based frozen desserts require stabilizers to achieve the same ice crystal size as dairy ice cream. Without stabilizers, the ice crystals grow large and the texture turns grainy.
Warning: Do not use a dairy recipe and simply swap in almond milk. The result will be icy, hard, and nearly impossible to scoop. You must change the entire recipe structure.
Choosing the Right Plant-Based Base
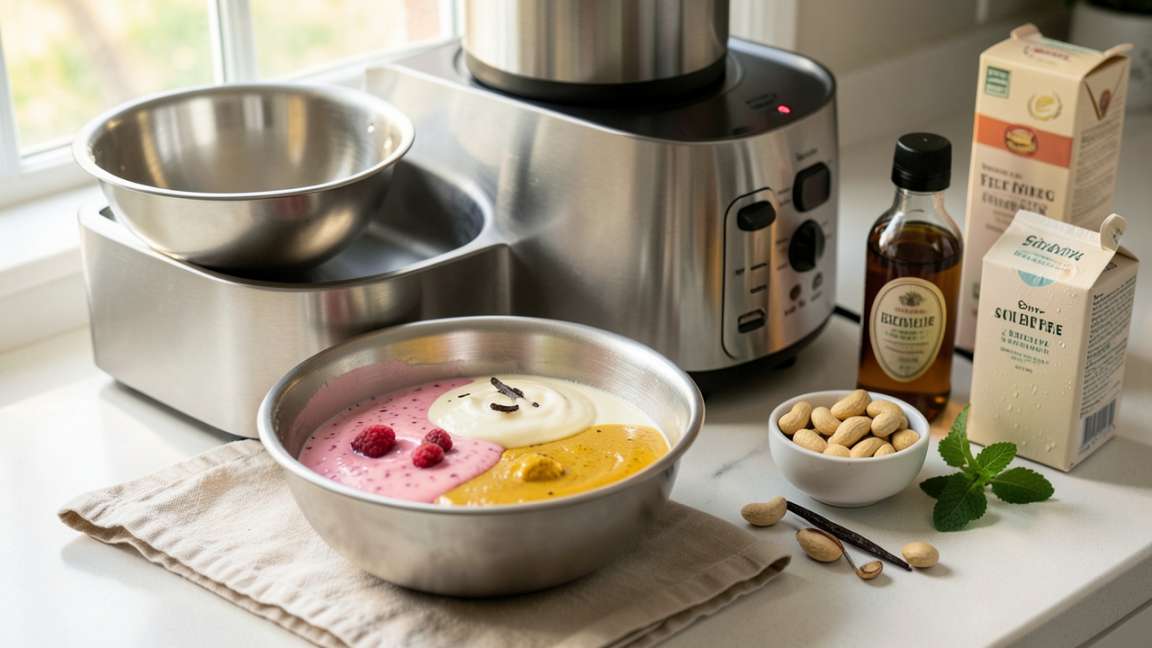
Not all plant-based milks work equally well in a home machine. Some create creamier results with less effort. The table below compares the most common options.
| Base Type | Fat Content | Creaminess Level | Best Use Case |
|---|---|---|---|
| Full-fat coconut milk | 18-22% | High | Best standalone base for most flavors |
| Cashew cream | 10-15% | High | Neutral flavor, works with fruit or chocolate |
| Oat milk (barista blend) | 4-6% | Medium | Mild flavor, best with added nut butter |
| Almond milk | 2-3% | Low | Needs heavy fortification with coconut cream or oils |
| Soy milk | 3-4% | Low-Medium | Works with extra fat and stabilizer blend |
Full-fat coconut milk gives the best results in standard home machines. It has enough natural fat to churn properly. Cashew cream is the second best option. It has a neutral taste that works for any flavor profile.
Tip: If you want a coconut-free option, blend one cup of soaked cashews with two cups of water until smooth. This homemade cashew cream gives you 12-15 percent fat without any coconut flavor.
Key Ingredients That Fix Texture
Your making dairy-free ice cream work in a standard home machine depends on four key ingredients beyond your base milk. Each one solves a specific problem.
Stabilizers and Thickeners
Stabilizers are the secret to creamy plant-based ice cream. They bind water, prevent large ice crystals, and help the machine incorporate air. The best options for home use include:
- Guar gum – Use 1/4 teaspoon per quart of base. It prevents ice crystals and gives a smooth mouthfeel. It works well with coconut and nut bases.
- Xanthan gum – Use 1/8 teaspoon per quart. It creates a thick, creamy texture but can turn slimy if you use too much. Always blend it with sugar before mixing.
- Locust bean gum – Use 1/4 teaspoon per quart. It pairs well with other gums and adds body without changing flavor. It is common in commercial dairy-free ice creams.
- Cornstarch or arrowroot – Use 1 tablespoon per cup of base. These starches thicken the base during cooking and help reduce iciness.
According to the, the combination of guar gum and locust bean gum produces the best texture in plant-based frozen desserts. This blend mimics the stabilizing effect of egg yolks in dairy recipes.
Fats and Oils
Adding extra fat improves both texture and scoopability. Options include:
- Coconut cream – The thick part from a can of full-fat coconut milk. It adds richness without flavor impact if you use the refined version.
- Refined coconut oil – 2 to 3 tablespoons per quart. It has no coconut taste and stays solid at room temperature, which helps structure.
- Nut butters – 2 to 3 tablespoons per quart. Cashew butter and almond butter add fat and flavor. They also help stabilize the base.
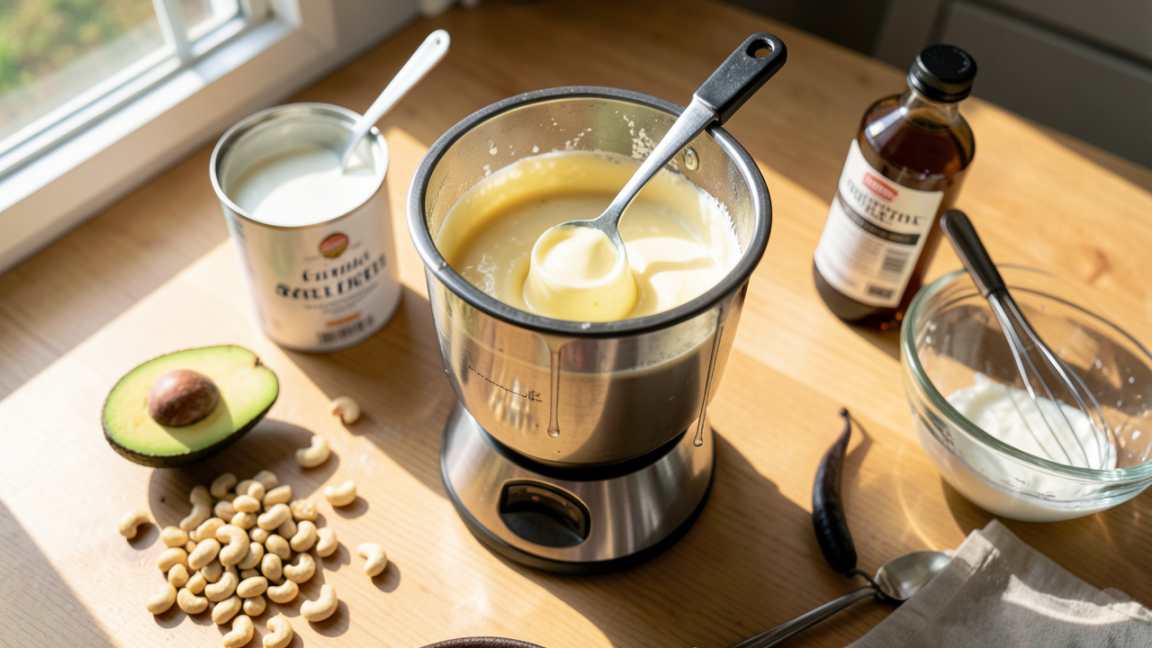
- Avocado – 1/2 ripe avocado per quart. It adds healthy fats and a silky texture. The flavor disappears behind chocolate or fruit.
Sugars and Sweeteners
Sugar does more than add sweetness. It lowers the freezing point of your base, which keeps the ice cream softer at freezer temperatures. Different sugars have different effects.
| Sweetener | Freezing Point Depression | Best Use |
|---|---|---|
| White sugar | Moderate | Standard choice, reliable results |
| Agave nectar | High | Creates softer, more scoopable ice cream |
| Coconut sugar | Moderate | Adds caramel flavor, works with spice bases |
| Maple syrup | High | Good flavor but can overpower subtle bases |
Important: Replace one tablespoon of sugar with one tablespoon of agave or maple syrup in your recipe. Liquid sweeteners lower the freezing point more than granular sugar does. This makes your dairy-free ice cream softer at home freezer temperatures.
Step-by-Step Process for Dairy-Free Ice Cream
Follow these steps exactly to get creamy results from your standard home machine.
Step 1: Prepare the Base
- Choose your primary base – full-fat coconut milk or cashew cream work best. Use 2 cups as your starting point.
- Add 1/4 cup of extra fat – coconut cream, refined coconut oil, or nut butter. This brings the total fat to 15-20 percent.
- Add 1/2 to 3/4 cup of sugar or sweetener. Combine white sugar with a liquid sweetener for best texture.
- Add 1/4 teaspoon of stabilizer blend – mix guar gum and locust bean gum in a 1 to 1 ratio. Whisk the gum into the sugar first to prevent clumps.
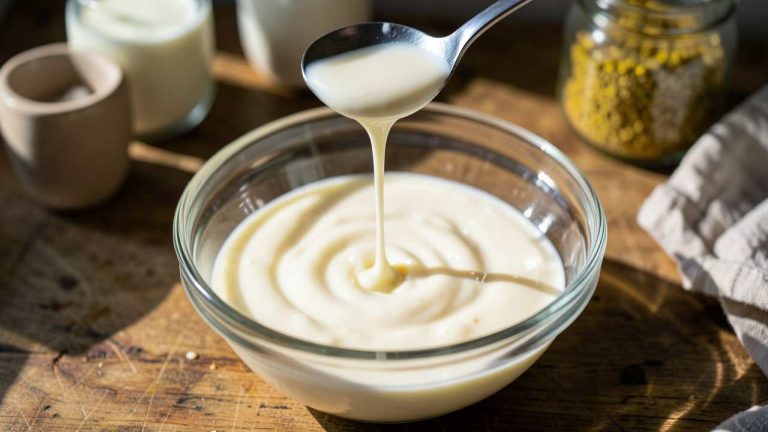
- Blend everything in a high-speed blender for 30 seconds until smooth. If you use starches, heat the base on the stove until it thickens slightly, then cool it.
Step 2: Chill the Base Properly
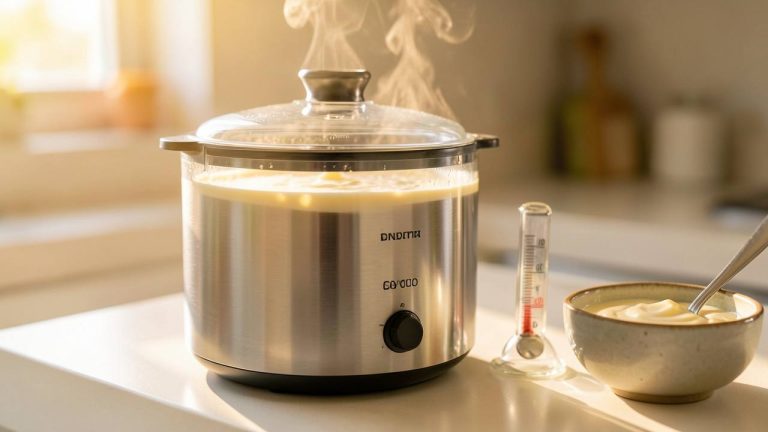
Dairy-free bases need more chilling time than dairy bases. Place your blended base in the refrigerator for at least 6 hours. Overnight is better. The base must be completely cold before it goes into the machine.
According to a food science study, base temperature directly affects ice crystal size in frozen desserts. A warmer base creates larger crystals. A fully chilled base (35-40 degrees F) creates smaller, more uniform crystals.
Step 3: Churn in Your Home Machine
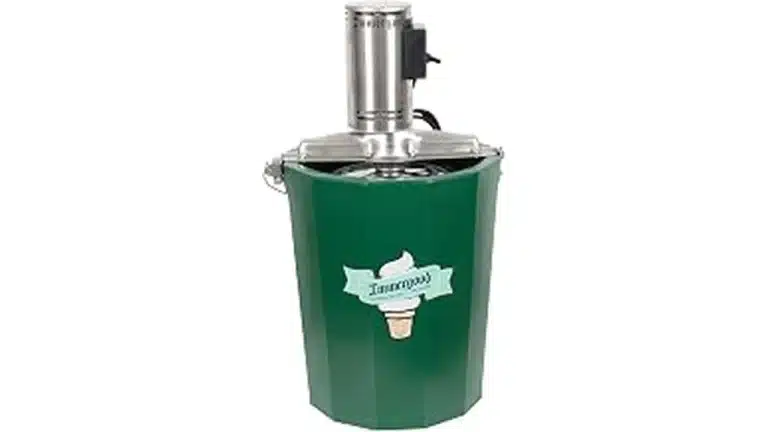
- Make sure your machine bowl is fully frozen. Most standard home machines require 18-24 hours of freeze time. Check the manufacturer instructions for your specific model.
- Pour the chilled base into the running machine. Most machines work best when the paddle is already spinning.
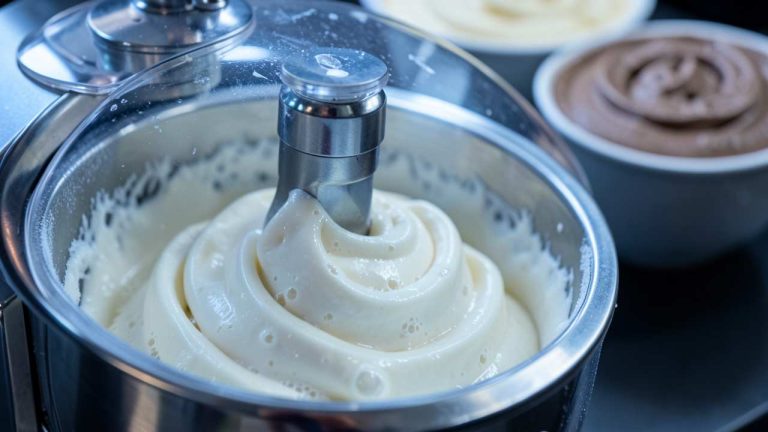
- Churn for 20-30 minutes. Dairy-free bases often churn faster than dairy bases. Watch for the soft-serve consistency. Stop when the mixture looks like thick soft ice cream.
- Do not over-churn. Plant-based bases can break and become grainy if you churn too long. Stop as soon as the volume increases and the texture looks creamy.
Step 4: Harden in the Freezer
- Transfer the churned ice cream to an airtight container. Press a piece of parchment paper directly onto the surface to prevent ice crystals from forming.
- Place the container in the coldest part of your freezer. The back of the freezer works best.
- Let it harden for 3-4 hours. Dairy-free ice cream freezes harder than dairy ice cream, so it needs less time to reach scoopable consistency.
- Take the container out of the freezer 5-10 minutes before scooping. This softens it enough to scoop without breaking your spoon.
What to Expect in Terms of Texture and Taste
Dairy-free ice cream will never be identical to premium dairy ice cream. But with the right adjustments, it can be creamy, scoopable, and delicious. Here is what you should expect:
- Texture – Expect a slightly denser texture than dairy ice cream. It will not be as airy because plant-based bases trap less air during churning. The texture improves after 24 hours in the freezer as the stabilizers fully hydrate.
- Scoopability – It will be harder straight from the freezer than dairy ice cream. Let it sit at room temperature for 5-10 minutes before scooping. Adding more liquid sweetener or a tablespoon of alcohol (vodka or rum) improves scoopability.
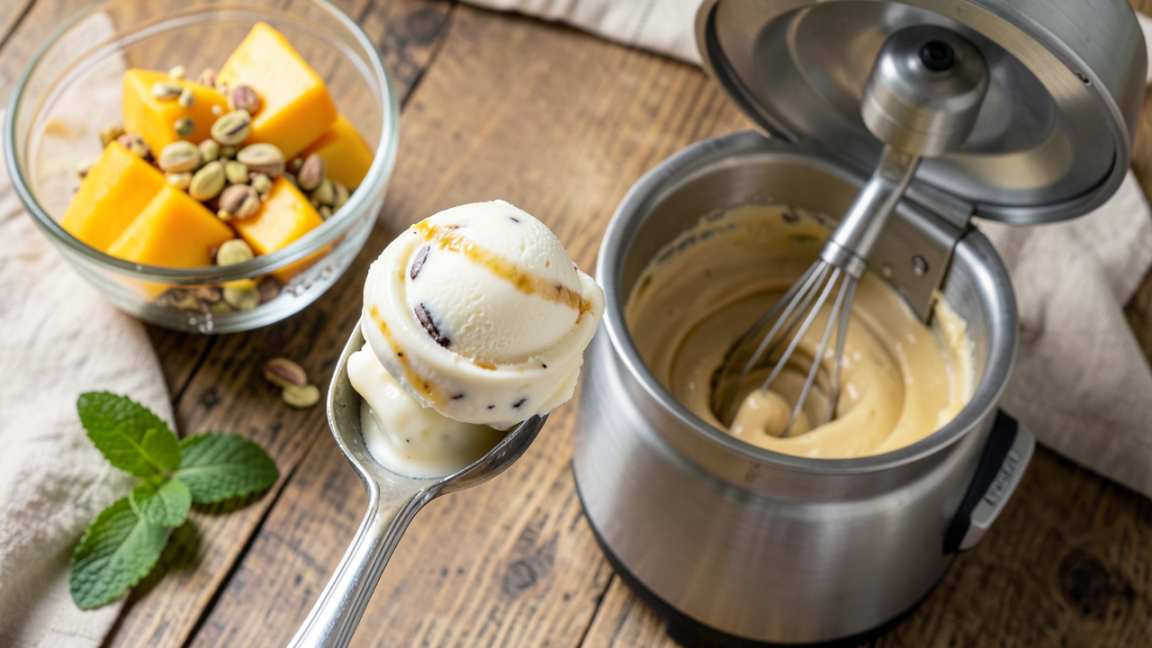
- Taste – The base flavor depends on your plant milk choice. Coconut adds a distinct flavor that pairs well with tropical fruits and chocolate. Cashew cream takes on whatever flavor you add. Oat milk gives a mild, slightly sweet base.
Common Mistakes to Avoid
Most problems with dairy-free ice cream come from the same few mistakes. Avoid these for better results.
- Using a low-fat base without fortification – Plain almond milk or light coconut milk do not have enough fat. Your ice cream will freeze into an ice block. Always add extra fat from coconut cream, nut butter, or oil.
- Skipping stabilizers – Without guar gum or a similar stabilizer, water molecules in the base form large ice crystals. The result is grainy, icy ice cream. Use at least one stabilizer in every batch.
- Churning a warm base – A base that is not fully chilled takes longer to freeze in the machine. This gives ice crystals more time to grow. Chill your base for 6 hours minimum before churning.
- Over-churning the mixture – Plant-based bases can break down if churned too long. The mixture can separate and become oily. Stop churning as soon as you reach a soft-serve consistency.
- Using too much sugar – Too much sugar lowers the freezing point too much. Your ice cream will not freeze properly. Stick to 3/4 cup of sweetener per 2 cups of base.
Warning: Do not add alcohol as the only antifreeze ingredient. One tablespoon of vodka or rum helps, but it cannot replace proper fat and stabilizer levels. Use alcohol as a supplement, not a fix for a bad base.
Pro Tips for Better Dairy-Free Ice Cream
These advanced tips come from experienced home cooks and food scientists. They make the difference between okay ice cream and great ice cream.
- Toast your nuts and coconut first – Toasting cashews, almonds, or coconut flakes before blending adds deep flavor. This extra step takes 5 minutes but changes the taste significantly.
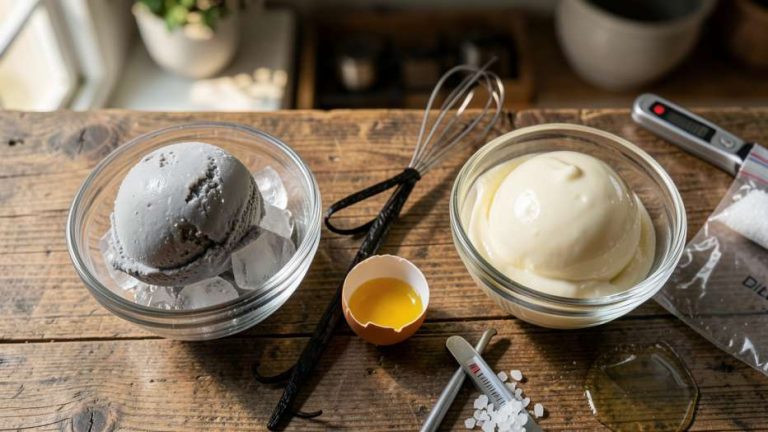
- Use a kitchen scale for ingredients – Weighing your fats, sugars, and stabilizers gives more consistent results than measuring by volume. Stabilizer amounts are small, and a scale prevents errors.
- Make a simple syrup instead of using granulated sugar – Dissolve white sugar in warm water at a 2 to 1 ratio. This syrup blends into cold bases more easily and helps with texture.
- Pre-chill your storage container – Put your ice cream container in the freezer for 30 minutes before transferring the churned ice cream. This prevents melting when you pack it.
- Age your base for 24 hours – Let the prepared base sit in the refrigerator for a full day before churning. This allows starches and stabilizers to fully hydrate. The texture improves noticeably.
How to Adapt a Dairy Recipe for Plant-Based Use
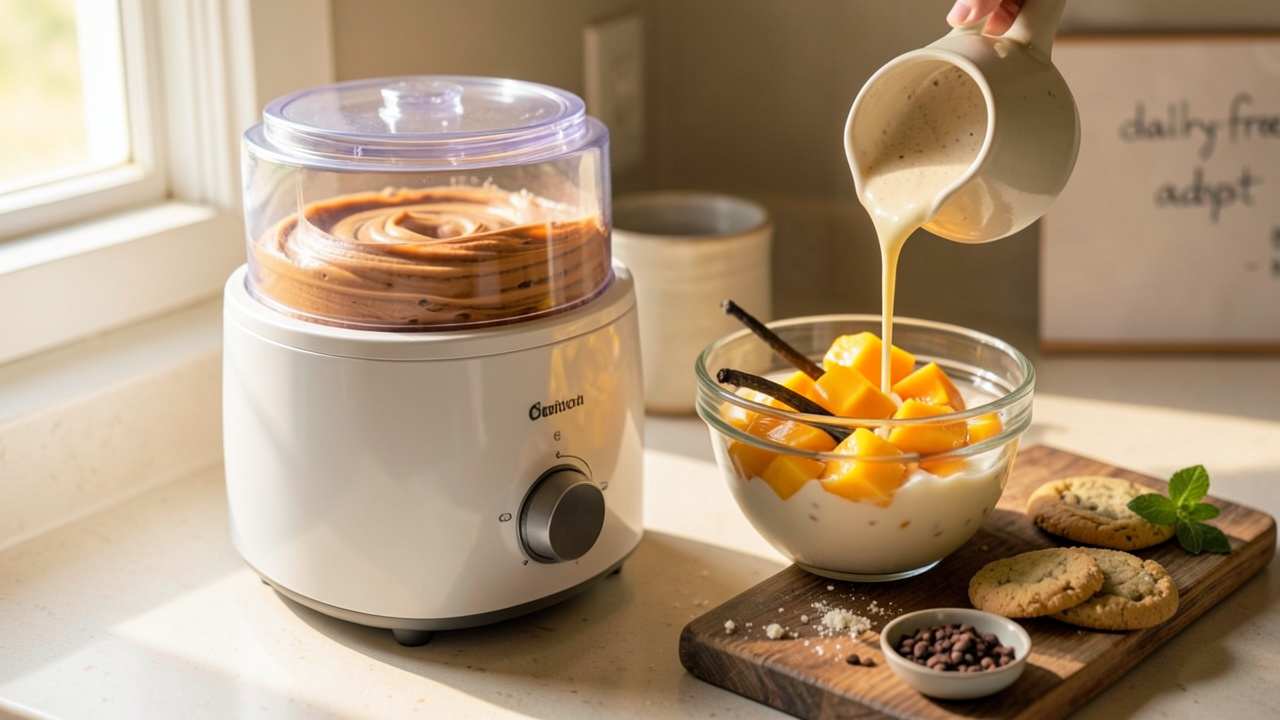
You do not need to reinvent every recipe. You can adapt your favorite dairy ice cream recipe to work with plant-based ingredients. Follow this conversion method.
- Replace the heavy cream with full-fat coconut milk or cashew cream. Use the same volume as the original recipe calls for cream.
- Replace whole milk with oat milk or almond milk mixed with extra fat. Add 2 tablespoons of refined coconut oil for each cup of plant milk you use.
- Replace eggs (if present) with a stabilizer blend. Use 1/4 teaspoon of guar gum plus 1/4 teaspoon of locust bean gum. This replaces the emulsifying power of egg yolks.
- Reduce the sugar by 10-20 percent. Plant-based bases taste sweeter than dairy bases at the same sugar level because plant milks have natural sweetness.
- Add 1 tablespoon of liquid sweetener or alcohol to lower the freezing point. This compensates for the lack of dairy fat and makes scooping easier.
Common Myths vs Facts
Many home cooks believe things about dairy-free ice cream that are not true. Here are the most common myths and the facts that debunk them.
Fact: You do not need a special machine for dairy-free ice cream. A standard home machine works perfectly with the right recipe adjustments. The machine itself is not the problem. The recipe and technique are what need to change.
Myth 1: You Need a Commercial Machine for Plant-Based Ice Cream
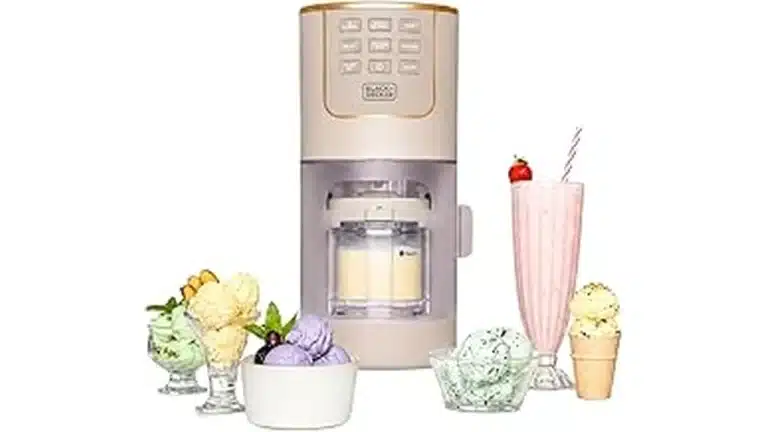
Most standard home ice cream machines including the KitchenAid ice cream bowl attachment, Cuisinart frozen yogurt makers, and Ninja Creami work well with plant-based bases. The key is adjusting the recipe, not upgrading the machine.
Myth 2: Dairy-Free Ice Cream Can Never Be Creamy
With the right fat content, stabilizers, and sweetener balance, dairy-free ice cream can be very creamy. Brands like Oatly and So Delicious prove this commercially. The same principles apply at home. Use full-fat ingredients and proper stabilizers.
Myth 3: You Can Use Any Plant Milk Straight From the Carton
Store-bought plant milks are designed for drinking, not freezing. They have low fat and high water content. You must fortify them with extra fat, stabilizers, and sometimes starches. Using carton almond milk alone will always fail.
Resources and Tools
These tools and resources help you make better dairy-free ice cream at home. Each one solves a specific problem.
- Guar Gum – A stabilizer that prevents ice crystals and improves creaminess. You can find it at most health food stores or online.
- Cuisinart ICE-100 – A mid-range home ice cream machine that works well for plant-based bases. It has a compressor so you do not need a pre-frozen bowl.
- KitchenAid Ice Cream Maker Attachment – A popular attachment for stand mixers. It works for dairy-free bases if you pre-chill the bowl for 24 hours.
- The Vegan Scoop by Wheeler del Torro – A recipe book with dozens of tested dairy-free ice cream recipes. It covers stabilizer usage and flavor combinations.
- Hydrocolloid Collections – A source for individual gums and stabilizer blends. They sell small quantities ideal for home use.
Frequently Asked Questions
Can I use almond milk as the base for dairy-free ice cream?
You can, but you must fortify it with extra fat. Plain almond milk has only 2-3 percent fat. Add 1/4 cup of coconut cream and 2 tablespoons of refined coconut oil to each cup of almond milk. Without these additions, the ice cream will freeze into an icy block.
How long should I churn dairy-free ice cream in a standard machine?
Churn for 20 to 30 minutes depending on your machine. Stop when the mixture reaches a soft-serve consistency. Plant-based bases churn faster than dairy bases. Over-churning causes the mixture to break and become grainy.
Why does my dairy-free ice cream taste icy?
Icy texture comes from large ice crystals. This happens when the base has too much water, not enough fat, or no stabilizer. Use full-fat coconut milk, add a stabilizer like guar gum, and chill the base for at least 6 hours before churning.
Can I use a Ninja Creami for dairy-free ice cream?
Yes, the Ninja Creami works well for dairy-free bases. The machine processes the frozen base into a creamy texture through a different mechanism than traditional churn machines. Follow the same rules for fat content and stabilizers when making your base.
How do I scoop hard dairy-free ice cream from the freezer?
Let the container sit at room temperature for 5 to 10 minutes before scooping. You can also run your scoop under hot water for a few seconds. Adding agave nectar or a tablespoon of vodka to your base also helps keep it softer at freezer temperature.
Final Thoughts
Making dairy-free ice cream in a standard home machine is entirely possible when you understand the science behind fat, stabilizers, and freezing points. Focus on using full-fat plant bases, adding proper stabilizers, and chilling your base thoroughly before churning. With these adjustments, you can create creamy, scoopable dairy-free ice cream at home without buying any special equipment.