How Gluten-Free Flour Behaves Differently in a Bread Machine
Gluten-free flour behaves differently in a bread machine because it cannot form the elastic protein network that traps gas, resulting in a wetter, batter-like dough that requires significantly higher hydration and careful kneading. To prevent a dense or gummy loaf, use a dedicated gluten-free cycle that avoids over-mixing and incorporate binders like xanthan gum to provide structure. The final loaf will rise less and bake faster than wheat bread, and allowing it to cool completely is essential for the crumb to set properly.
Gluten-free bread has a reputation for being dense, crumbly, or gummy. If you use a bread machine, you must know exactly how gluten-free flour behaves differently in a bread machine so you can adjust your recipe.
Quick Verdict: Simply put, gluten-free flour lacks the elastic protein network that traps gas and gives bread its structure. In a bread machine, this means the dough will be wetter, rise less, and bake faster. You must add binders like xanthan gum and use a dedicated gluten-free cycle to avoid over-mixing and collapse.
- Gluten-free flour cannot form the same elastic gluten network as wheat flour, so it relies on gums and starches for structure.
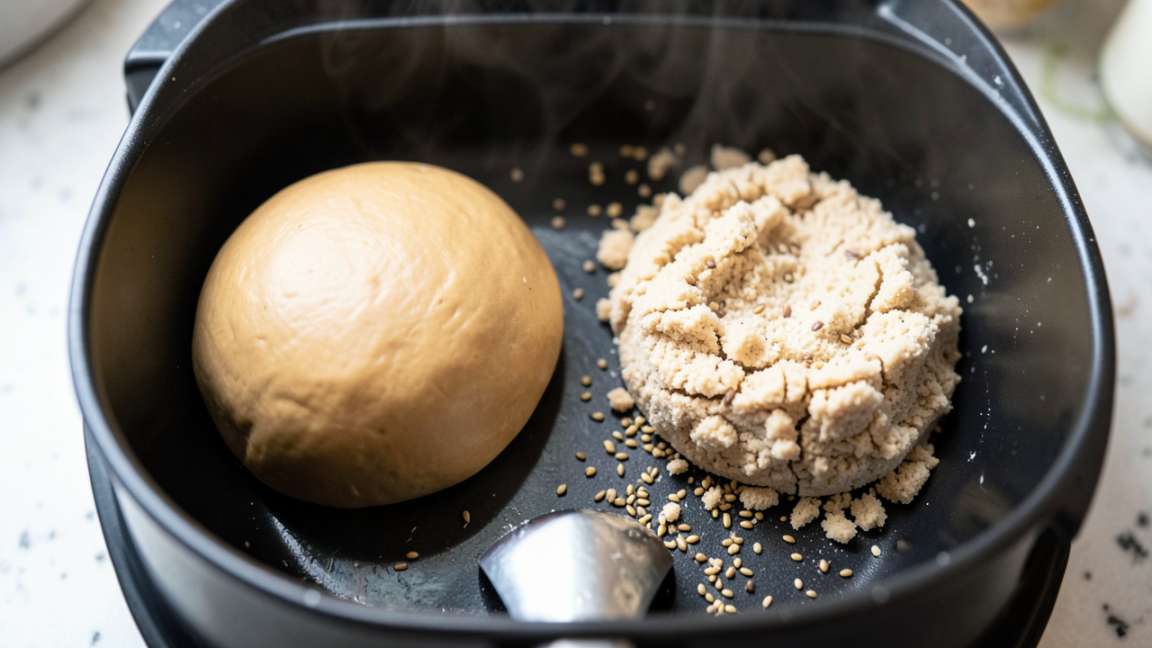
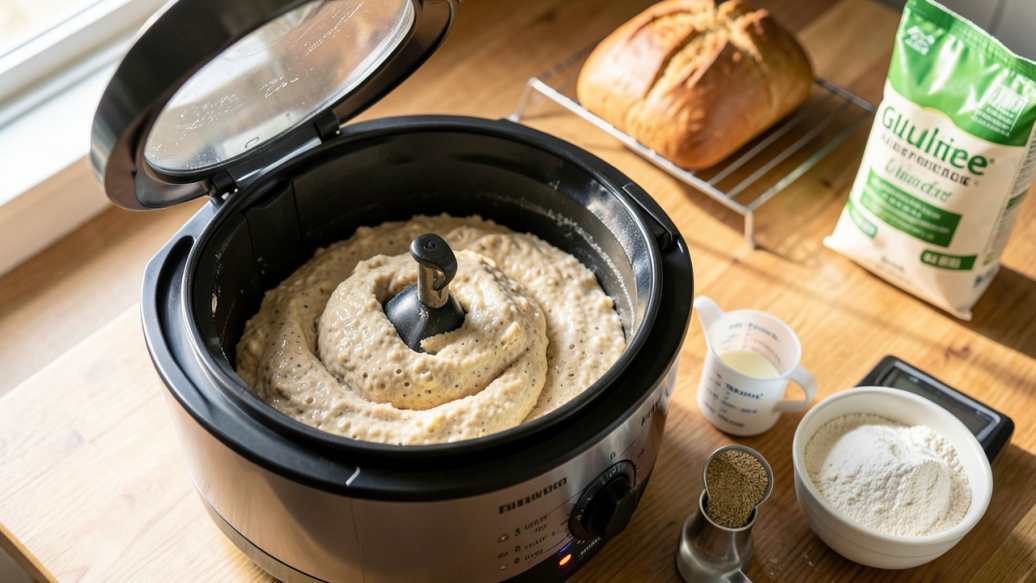
- Gluten-free dough in a bread machine is much wetter and behaves like a thick batter rather than traditional bread dough.
- You must use the dedicated gluten-free cycle on your machine to prevent over-kneading and a dense final loaf.
- Extra hydration is critical because gluten-free flours absorb more liquid than standard wheat flour.
- Letting the bread cool completely is non-negotiable for gluten-free loaves to set their final texture.
What Makes Gluten-Free Flour Unique Compared to Wheat Flour?
Wheat flour contains gluten, a protein that forms a strong, stretchy network when mixed with water. This network traps carbon dioxide from yeast, causing the dough to rise into a light, airy structure. Gluten-free flour behaves differently in a bread machine because it contains no gluten at all.
According to the, approximately 1 in 100 people worldwide have celiac disease. This creates high demand for quality gluten-free alternatives. Most gluten-free blends combine a starch like rice flour or tapioca starch with a protein-rich flour like almond or sorghum flour. These blends cannot form gluten, so they need help from binders.
Common binders include xanthan gum, guar gum, and psyllium husk. These ingredients mimic gluten’s ability to hold gas and create structure. Without them, your bread will crumble and fall apart. The key is understanding that gluten-free flour behaves differently in a bread machine from the very first mix.
How Does Gluten-Free Flour Behave Differently in a Bread Machine?
The differences show up in every stage of the bread machine cycle. From mixing to rising to baking, gluten-free flour requires a completely different approach.
Hydration and Dough Consistency
Wheat flour absorbs water at a known rate. Gluten-free flour soaks up much more liquid. This means your dough will look much wetter than you expect. Do not be tempted to add more flour.
| Feature | Wheat Flour Dough | Gluten-Free Flour Dough |
|---|---|---|
| Hydration Ratio | 55-65% | 75-90% |
| Texture | Elastic, smooth, pulls away from bowl | Sticky, batter-like, resembles thick cake batter |
| Rise Potential | High, holds shape independently | Moderate, needs support from the pan |
| Kneading Sensitivity | Benefits from long kneading (10-15 mins) | Damaged by long kneading (3-5 mins max) |
Kneading Sensitivity
Over-kneading is one of the biggest mistakes you can make with gluten-free flour. The bread machine’s standard cycle kneads for 10 to 20 minutes. This works great for wheat dough because it develops the gluten. For gluten-free dough, that amount of mixing destroys the structure. The batter becomes thin and the loaf collapses.
Most modern bread machines include a gluten-free cycle. This cycle kneads for only 3 to 5 minutes. It then moves directly to the rising stage. If your machine does not have this cycle, you can use the rapid or quick bread cycle as a backup.
Warning: Do not use the standard white bread cycle for gluten-free dough. The extended kneading time will overwork the batter, leading to a dense, flat loaf with a gummy center.
Rising and Baking Time
Wheat dough typically has two rises. The first rise happens after kneading. The second rise happens after shaping. Gluten-free dough rises only once. It cannot hold its structure through a second proofing cycle. The gluten-free cycle on your bread machine accounts for this by skipping the punch-down and second rise.
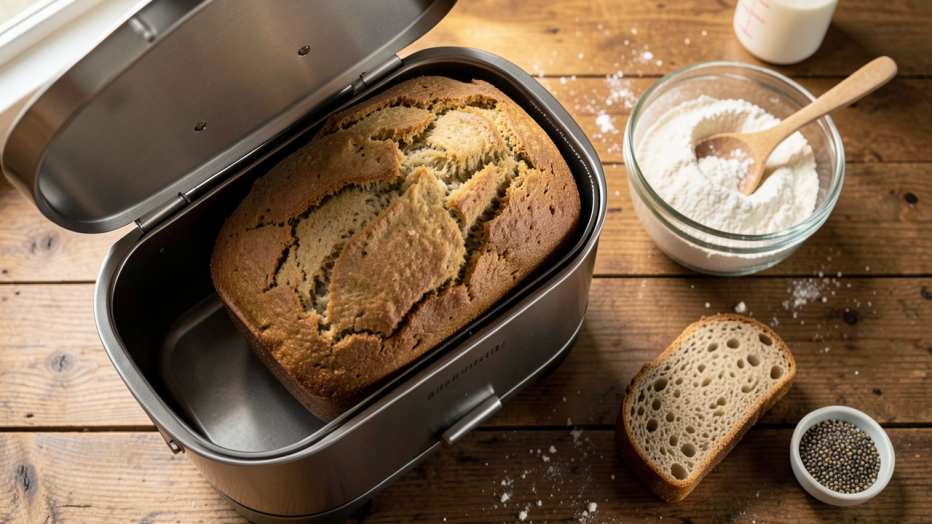
Gluten-free bread also bakes similarly to wheat bread but often finishes faster. The top may brown quickly while the center stays raw. You can check the internal temperature with a thermometer. According to America’s Test Kitchen, the target internal temperature is between 205 and 210 degrees Fahrenheit. This ensures the starches are fully cooked.
What Are the Key Adjustments for Gluten-Free Bread Machine Baking?
You cannot simply swap wheat flour for gluten-free flour in a standard recipe. You must make several key adjustments to get a soft, high-rising loaf.
Choose the Right Flour Blend
Not all gluten-free flours are the same. Some blends are designed for cookies and cakes. Others are designed for yeast breads. Look for a blend that includes a mix of whole grain flour and starch. Popular choices include rice flour, sorghum flour, tapioca starch, and potato starch.
King Arthur Baking Company offers a specific blend called Measure for Measure. Bob’s Red Mill has a similar 1-to-1 Baking Flour. Both contain xanthan gum, which is necessary for structure. If your blend does not contain a binder, you must add it yourself. Use 1/2 to 1 teaspoon of xanthan gum per cup of flour.
Increase Hydration Significantly
Gluten-free flour acts like a sponge. It absorbs much more liquid than wheat flour. If your recipe calls for 1 cup of water, you may need 1.5 cups or more. The batter should look like a thick cake batter, not a stiff dough. It should not hold its shape when scooped.
You can also increase the fat content to improve texture. An extra egg or a tablespoon of olive oil helps create a softer crumb. Buttermilk or yogurt also adds moisture and tenderness.
Use the Correct Cycle
Always select the gluten-free cycle if your machine has one. This cycle uses a single knead and a single rise. If your machine lacks this setting, use the quick bread or rapid cycle. Avoid the whole wheat or artisan cycles. These cycles have long kneading times that ruin gluten-free batter.
Check for Doneness
Gluten-free bread can look perfectly browned on top while still being raw in the middle. The crust may also be harder than wheat bread. Use a food thermometer to check the internal temperature. Insert it into the center of the loaf. The target is 205 to 210 degrees Fahrenheit. If you do not reach this temperature, bake the loaf in a conventional oven at 350 degrees for an additional 10 to 15 minutes.
Let the Loaf Cool Completely
This step is non-negotiable. Gluten-free bread is extremely fragile when hot. The structure is still setting as it cools. If you slice the bread while it is warm, it will appear gummy and may fall apart. Let the loaf cool on a wire rack for at least 2 hours before slicing. For best results, wait until it reaches room temperature.
Tip: Use a serrated bread knife to slice gluten-free bread. The sawing motion creates clean cuts without crushing the delicate crumb structure.
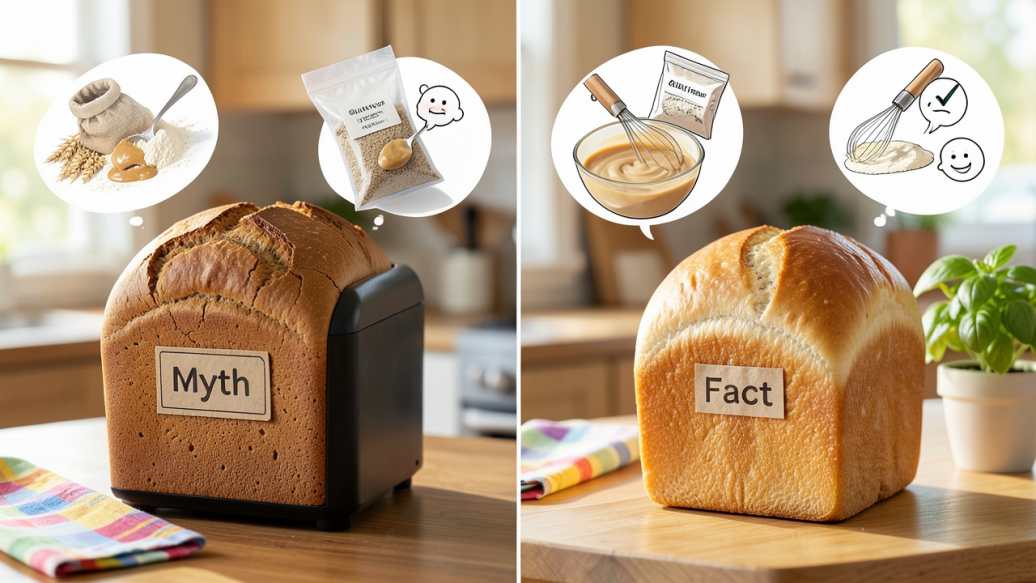
Common Myths vs Facts About Gluten-Free Bread Machines
Myth 1: You can use a standard wheat bread recipe and just swap the flour.
Fact: This is the most common reason for failed gluten-free bread. The liquid ratios, binder requirements, and mixing times are completely different. You need a recipe specifically designed for gluten-free flour.
Myth 2: Gluten-free dough should look like regular bread dough.
Fact: Gluten-free dough is much wetter and resembles a thick batter. If you add enough flour to make it look like wheat dough, the bread will be extremely dry and dense. Trust the sticky, batter-like consistency.
Myth 3: You can skip the binder if you use a good blend.
Fact: Some blends already contain xanthan gum, but many do not. If your blend lacks a binder, you must add one. Psyllium husk powder is a natural alternative that works well in bread machines. Without a binder, the bread will not rise and will crumble.
How to Make Gluten-Free Bread in a Bread Machine: A Step-by-Step Guide
- Gather and weigh your ingredients. Use a kitchen scale for accuracy. Gluten-free flours are very light and airy, making cup measurements inconsistent.
- Add liquids to the pan first. Place water, oil, eggs, and vinegar or lemon juice into the bread machine pan. The acid helps strengthen the gluten-free structure.
- Add dry ingredients on top. Pour the gluten-free flour blend, salt, sugar, and any seeds or flavorings over the liquid. Do not mix them yet.
- Make a small well for the yeast. Gluten-free yeast breads often use more yeast than standard breads. Place the yeast in the well so it does not touch the liquid until the machine starts.
- Select the gluten-free cycle. Choose the darkest crust setting if you prefer a crispier crust. Some machines let you select a 1-pound or 1.5-pound loaf size. Smaller loaves often bake more evenly.
- Press start and do not open the lid. Opening the lid during the cycle lets heat and steam escape. This can cause the loaf to collapse or develop a sunken top.
- Check the internal temperature. When the cycle finishes, insert a thermometer into the center. The bread is done at 205-210 degrees Fahrenheit.
- Cool completely on a wire rack. Remove the loaf from the pan immediately. Let it cool for at least 2 hours. This step is critical for texture.
Important: If your bread machine does not have a gluten-free setting, use the sweet bread or rapid setting. These settings have shorter kneading times that are safer for gluten-free batter.
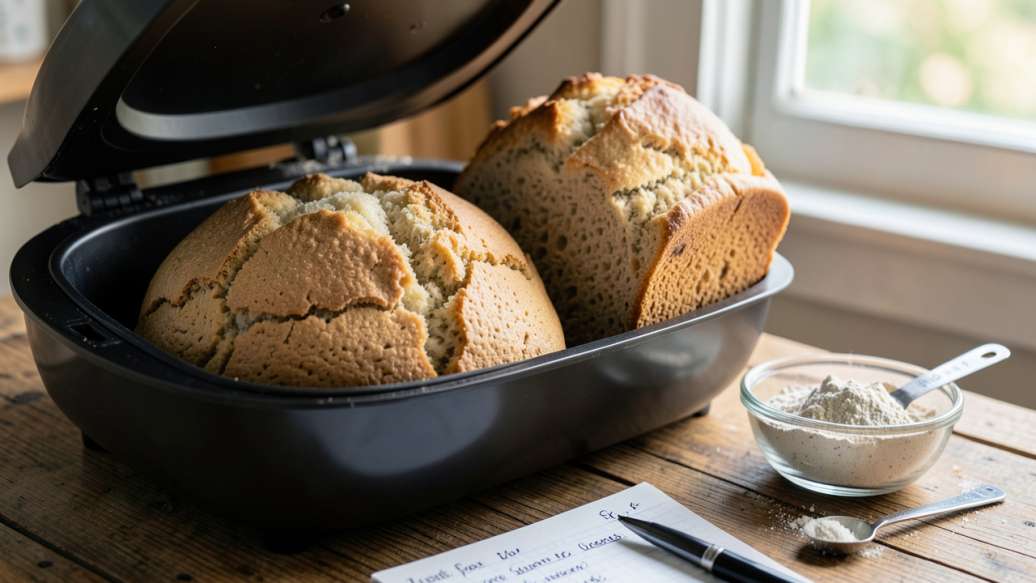
Troubleshooting Common Gluten-Free Bread Machine Problems
| Problem | Likely Cause | Solution |
|---|---|---|
| Dense, heavy loaf | Too little water or over-kneaded | Increase liquid by 10-15%. Use the gluten-free cycle. |
| Gummy center | Bread pulled early or too much water | Bake to 205F internal temp. Cool completely before slicing. |
| Loaf collapses or sinks | Too much yeast or not enough binder | Reduce yeast by 1/4 tsp. Add 1/2 tsp more xanthan gum. |
| Mushroom or concave top | Dough too wet for the pan size | Reduce liquid by 2-3 tbsp. Use the smaller loaf size setting. |
| Dry, crumbly texture | Not enough fat or binder | Add an extra egg or 1 tbsp oil. Increase binder amount. |
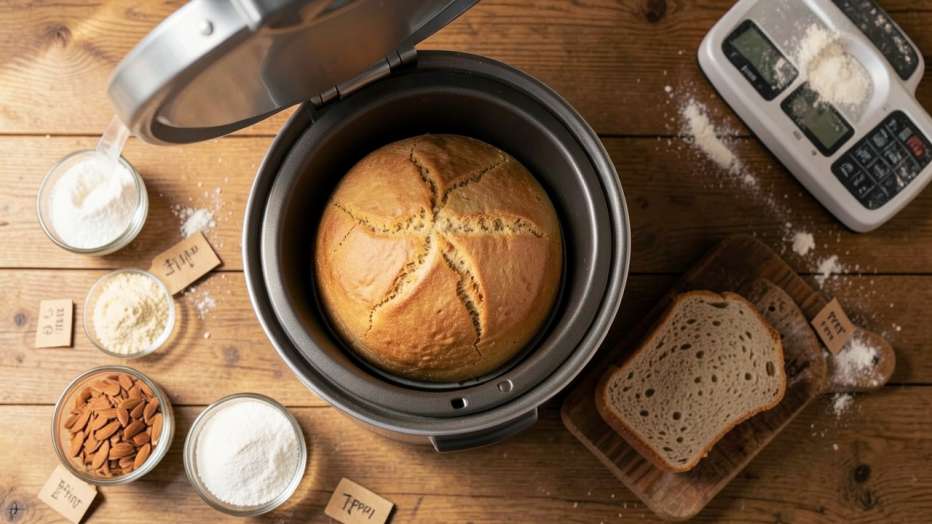
Pro Tips for Perfect Gluten-Free Bread Every Time
- Weigh your ingredients. Using a kitchen scale eliminates guesswork. Gluten-free flour blends vary widely in density, making volume measurements unreliable.
- Use slightly warm liquids. The liquid should feel warm to the touch, around 100 to 110 degrees Fahrenheit. Hot liquid kills the yeast. Cold liquid slows the rise.
- Add a small amount of acid. One teaspoon of apple cider vinegar or lemon juice helps strengthen the protein structure in gluten-free bread. This creates a taller, lighter loaf.
- Let the bread rest in the pan for 5 minutes. After the cycle ends, let the loaf sit in the machine for 5 minutes before removing it. This helps the structure set slightly before cooling.
- Store gluten-free bread in the freezer. Gluten-free bread dries out much faster than wheat bread. Slice the cooled loaf and freeze the slices. Toast directly from frozen for the best texture.
- Experiment with psyllium husk. Psyllium husk powder creates a more wheat-like texture than xanthan gum. It also adds fiber. Use about 2 tablespoons per cup of flour blend.
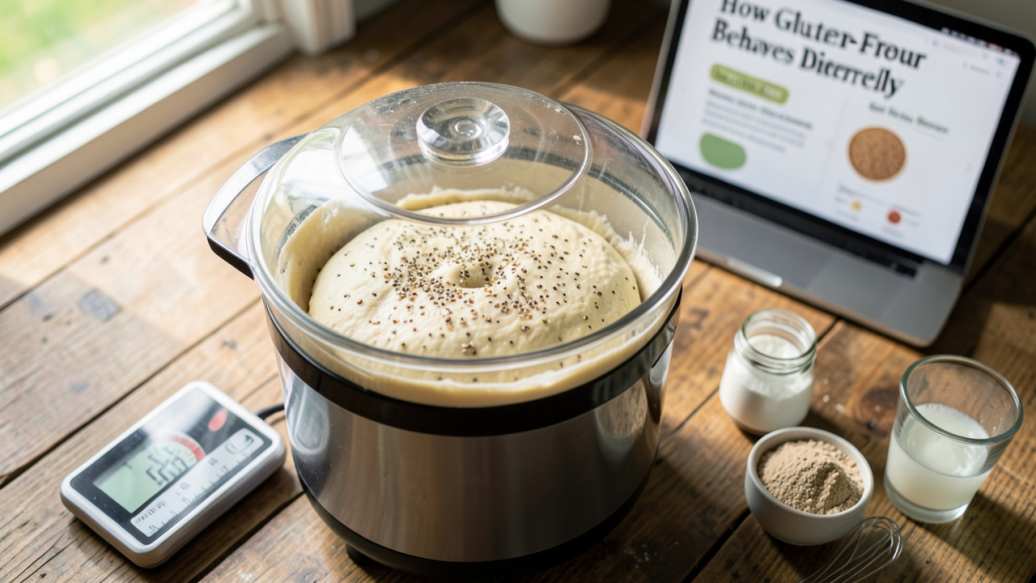
Resources and Tools for Gluten-Free Bread Bakers
King Arthur Baking Company – Offers high-quality gluten-free flour blends and a large collection of tested bread machine recipes.
Bob’s Red Mill – Sells popular 1-to-1 Gluten-Free Baking Flour and provides detailed guidelines for machine baking.
Celiac Disease Foundation – A leading resource for understanding the gluten-free diet and living with celiac disease.
Zojirushi Bread Machines – Known for their consistent gluten-free baking cycles and high-quality construction.
America’s Test Kitchen – Provides scientifically tested gluten-free bread recipes with detailed explanations of ingredient behavior.
Frequently Asked Questions
Can I use any bread machine for gluten-free bread?
Yes, but machines with a dedicated gluten-free cycle give the best results. This cycle uses a short knead time and a single rise. If your machine does not have this cycle, use the rapid or sweet bread setting.
Why did my gluten-free bread turn out gummy in the middle?
A gummy center usually means the bread was underbaked or sliced too early. Use a thermometer to check for 205-210 degrees Fahrenheit internal temperature. Always let the loaf cool completely on a wire rack before slicing.
What is the best gluten-free flour for bread machines?
Blends designed for yeast breads work best. Look for products like King Arthur Measure for Measure or Bob’s Red Mill 1-to-1. These blends contain a mix of flours and starches along with a binder like xanthan gum.
Do I need to add xanthan gum to gluten-free bread?
Most gluten-free flour blends already contain xanthan gum. If your blend does not, add 1/2 to 1 teaspoon per cup of flour. Psyllium husk powder is a natural alternative that works well in bread machines.
How long does gluten-free bread stay fresh from a bread machine?
Gluten-free bread dries out faster than wheat bread. It stays fresh at room temperature for 2 to 3 days when stored in an airtight container. For longer storage, slice the loaf and freeze the pieces.
Final Thoughts
Mastering gluten-free bread in a bread machine comes down to understanding hydration, cycle selection, and binders. Gluten-free flour behaves differently in a bread machine than wheat flour in every way. By treating it like a thick batter and using the right settings, you get a soft, high loaf without the gumminess or crumble. Adjust your expectations and your process, and you will enjoy great gluten-free bread at home.