Whole Wheat Bread Machine Settings and Why They Differ So Much
Whole wheat bread machine settings differ dramatically because the bran in whole wheat flour requires longer hydration and gluten development, but motor power, pan shape, and heating elements vary across brands, causing each manufacturer to program unique cycle timings. These variations mean the same recipe often fails in different machines, so understanding your specific device’s motor and sensor logic is essential for consistent results. Adding vital wheat gluten or incorporating an autolyse period can compensate for weak gluten and uneven hydration, improving loaf structure regardless of the machine’s cycle.
Baking whole wheat bread in a machine often feels like a gamble. The settings vary wildly between brands, and sometimes even between models from the same manufacturer.
Simply put, the whole wheat setting on a bread machine modifies the standard baking cycle by adding more time for kneading and rising. This extra processing time allows the coarse bran in whole wheat flour to fully hydrate, which prevents the dough from becoming dry and dense. It also helps weak whole wheat gluten develop enough structure to support a good loaf.
Key Takeaways
- The whole wheat setting adds significant time to the knead and rise stages to properly hydrate bran and develop the gluten network.
- Differences in motor power, pan shape, and heating elements between bread machine brands cause the timing of whole wheat cycles to vary dramatically.
- Adding vital wheat gluten or using a longer soak period can dramatically improve the structure of loaves baked on the whole wheat setting.
- Altitude and humidity impact whole wheat cycles more than white cycles because the bran absorbs moisture at a different rate than white flour.
- Testing your flour moisture content and adjusting your recipe by a tablespoon of water is the best way to adapt to your specific whole wheat bread machine settings.
What Are Whole Wheat Bread Machine Settings Exactly?
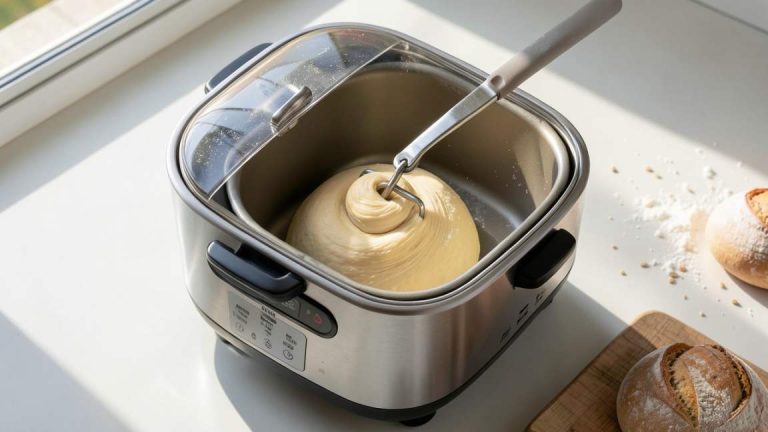
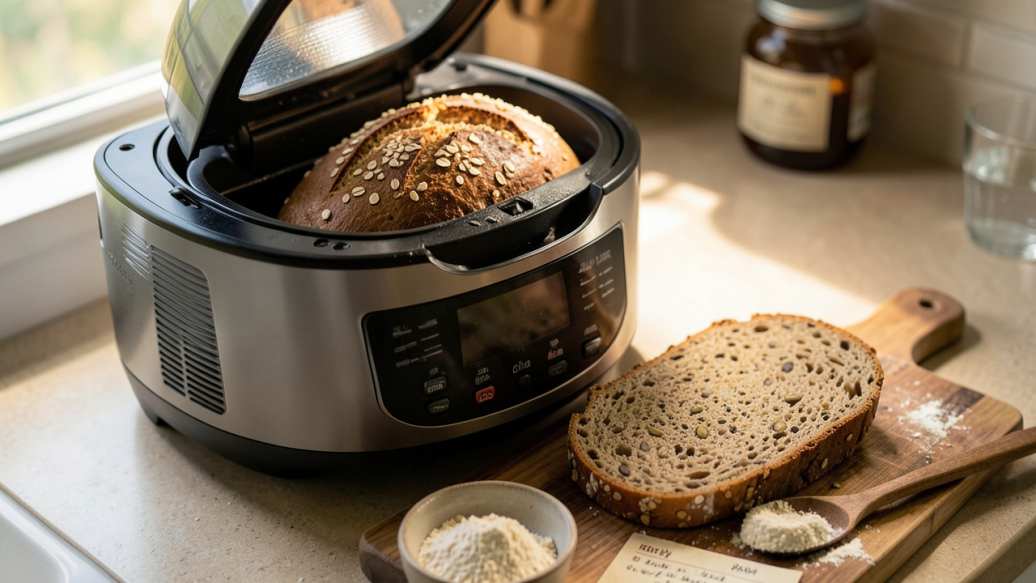
A bread machine is a small appliance that automates the entire bread baking process. It mixes, kneads, rises, and bakes the dough. The whole wheat bread machine settings are a specific pre-programmed cycle designed for the unique challenges of whole grain flours.
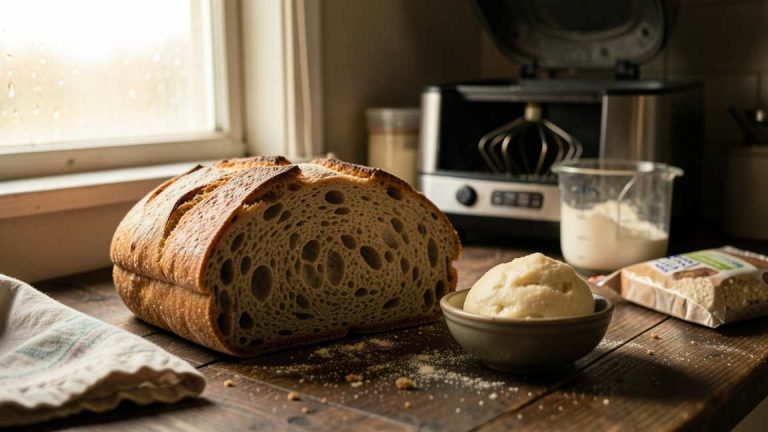
White flour is mostly starch and gluten-forming proteins. Whole wheat flour contains all parts of the wheat berry, including the bran and germ. The bran is sharp. It physically cuts through the delicate gluten strands as they form during kneading. This creates a weaker structure that can collapse.
The germ contains oils that can go rancid. It also absorbs moisture differently than the starchy endosperm. To compensate, the whole wheat cycle makes specific changes to the standard baking process.
Key Differences Between White and Whole Wheat Cycles
| Feature | White Cycle | Whole Wheat Cycle |
|---|---|---|
| First Knead | 10-15 minutes | 15-25 minutes |
| Rest Period | Short or none | 20-30 minutes (autolyse) |
| First Rise | 45-90 minutes | 60-180 minutes |
| Baking Temperature | ~350°F | ~325°F |
The whole wheat cycle first focuses on hydration. The rest period lets the bran absorb water. This makes it softer and less likely to cut the gluten. Only then does the machine begin a longer, more intense kneading phase.
Tip: If your machine has a “Whole Wheat” and a “Whole Grain” setting, the “Whole Grain” cycle is usually even longer. It is designed for heavy doughs like rye, spelt, or multi-grain blends that need extra time to absorb moisture.
How Do Whole Wheat Settings Vary Between Machines?
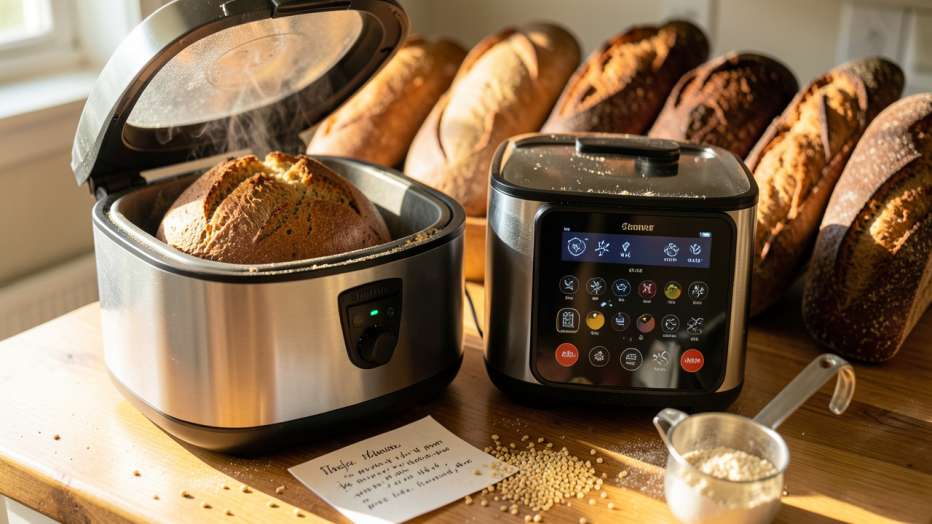
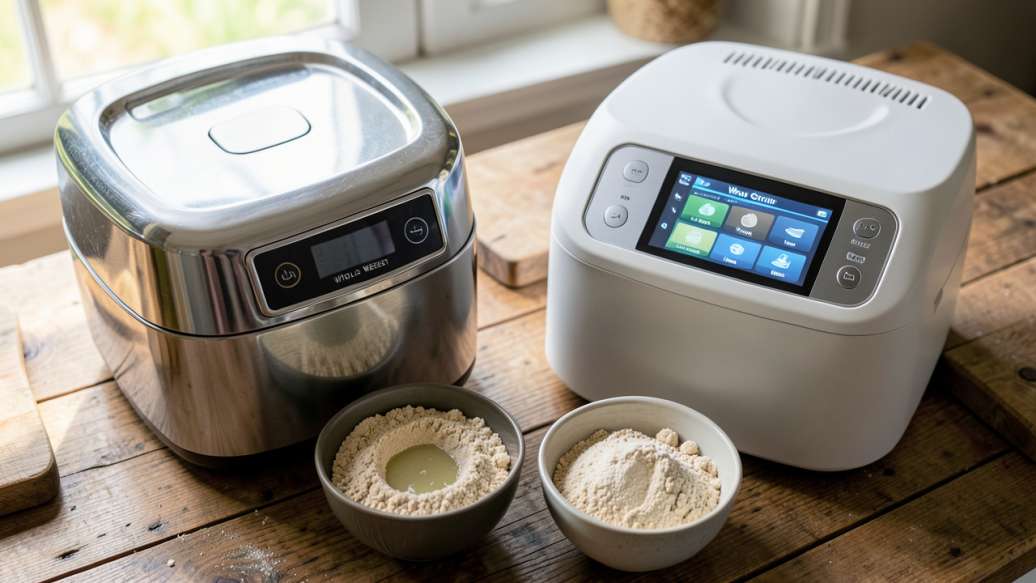
The most confusing part for home bakers is that the whole wheat setting is not a standard. Manufacturers develop their own algorithms. A whole wheat bread machine setting on a Zojirushi looks completely different from one on a Cuisinart.
This variation comes down to three main factors: hardware, software, and recipe testing philosophy.
Motor Power and Drive Type
Whole wheat dough is stiff and heavy. The gluten network is weak and sticky. A machine with a weaker motor cannot knead the dough as vigorously. It must rely on a longer run time to achieve the same results.
- Direct drive motors (common in Japanese brands like Zojirushi and Panasonic) run at lower RPMs but with high torque. They can handle heavy whole wheat dough without overheating.
- Belt-driven motors (common in budget machines) transfer power through a belt. These may struggle with thick dough and are more prone to slipping or burning out over time.
- Programmed rest intervals are built into some machines to give the motor a break. This extends the total cycle length but prevents mechanical failure.
Pan Shape and Heating Elements
A machine senses the dough temperature to manage the rise. The pan shape affects how the dough moves and how heat is distributed. Machines with tall, narrow pans push the dough harder against the paddle. This creates more friction and heat.
Machines with horizontal pans rely on a longer paddle to mix the dough. They often require longer kneading times because the dough moves more slowly around the pan. Heating elements in the lid also change the flavor. Machines that bake at a lower temperature for a longer time produce a thicker, darker crust. This is often preferred for whole wheat bread.
Programming Logic and Sensors
High-end machines use advanced logic to monitor the dough. They sense temperature and sometimes humidity to adjust the cycle in real time. Lower-end machines use simple timer-based programs.
- Temperature sensors: Premium bread machines can detect when the dough is too cold and extend the rise cycle. Whole wheat dough often needs a longer rise than white dough to trap enough gas.
- Volume sensing: Some top-tier models (like the Panasonic SD-YD250) use a sensor to detect how much the dough has risen. They automatically switch to the bake cycle at the perfect moment.
- Fixed timers: Budget machines run the whole wheat setting for a set amount of time, regardless of the dough condition. This is why recipes can fail between machines.
Warning: Do not assume that the “Whole Wheat” setting on your machine is the correct time for every recipe. If your dough looks dry or the machine struggles, stop the cycle. Add water a tablespoon at a time to get the proper consistency.

Why Does the Same Recipe Fail in Different Machines?
You follow the recipe exactly. The loaf comes out dense and short. The recipe works perfectly in your friend’s machine. This is the core of the “settings” problem. It is rarely the recipe. It is the machine’s interpretation of the whole wheat cycle.
According to a survey by, over 70% of home bakers who own a bread machine report inconsistent results with whole wheat recipes. The primary reason given is the variation in cycle times between brands.
The Autolyse Factor
Professional bakers use a technique called autolyse. They mix the flour and water and let it rest for 30 minutes before adding yeast and salt. This gives the bran time to hydrate and the gluten time to relax. Some bread machines include a built-in rest period at the start of the whole wheat cycle. Others do not.
If your machine lacks an autolyse phase, you must compensate. You can start the machine, let it mix for 2 minutes, and then turn it off for 30 minutes. Restart the machine on the whole wheat cycle. This simple trick fixes many texture problems.
Hydration Ratios and Flour Variability
Whole wheat flour from different brands absorbs water at different rates. Freshly milled whole wheat flour contains more moisture than old, stale flour. The bran in some brands is ground more coarsely than others. A machine setting that works for Stone-Buhr flour may fail for King Arthur or Bob’s Red Mill.
- Fresh flour needs less water. Reduce liquid by 1-2 tablespoons.
- Old flour needs more water. Add 1-2 tablespoons of liquid.
- High altitude causes faster rising. Reduce yeast by 1/4 teaspoon to prevent over-proofing on long whole wheat cycles.
How Does a Whole Wheat Baking Cycle Work Step by Step?
Understanding the steps inside the machine helps you troubleshoot. Here is a look at how a typical whole wheat cycle operates.
- Mix and Rest (Autolyse): The paddle mixes the flour, water, and sometimes a small amount of oil. It runs for 1-2 minutes and then stops. The machine waits for 20-30 minutes. This is critical for whole wheat flour.
- First Knead: The machine adds yeast (if using a delay timer) and begins to knead. The speed is usually slower at first to prevent sloshing. It ramps up over 15-20 minutes.
- Second Knead and Punch Down: After a short rest, the machine kneads again. It releases gas bubbles and redistributes the yeast. This can be a vigorous 5-10 minute cycle.
- Primary Rise: The dough sits and rises. This phase can last up to 2 hours on a whole wheat setting. The machine may apply slight heat to the pan to keep the yeast active.
- Shaping and Final Rise: The machine gives one last quick knead to punch down the dough. Then it lets the dough rise to the top of the pan.
- Bake: The heating element turns on. The temperature is often lower than a white bread cycle to prevent the bran from burning before the center is cooked. This phase lasts 50-70 minutes.
- Keep Warm: The machine turns the heater on and off to keep the loaf warm and dry out the crust. This can last up to an hour. Remove the bread quickly to prevent a soggy bottom.
Important: Listen to your machine. If the whole wheat cycle creates a loud thumping sound, the dough is too stiff. Add water 1 tablespoon at a time. If the dough looks like batter, it is too wet. Add flour 1 tablespoon at a time.
Common Myths vs. Facts About Whole Wheat Settings
Many misconceptions about bread machines frustrate new bakers. Let us clear up the most common rumors about the whole wheat cycle.
Myth 1: All Machines Can Handle 100% Whole Wheat Flour
Most machines advertise that they can bake whole wheat bread. This is technically true. They can produce a loaf. But cheap machines with weak motors often struggle. The resulting loaf is often dense and squat. The bread may not cook evenly.
Fact: Machines with lower wattage motors (under 500 watts) benefit from using a blend of 50% whole wheat and 50% white bread flour. For 100% whole wheat loaves, look for a machine with a strong direct-drive motor and a specific “Whole Wheat” or “Whole Grain” program that includes a long autolyse.
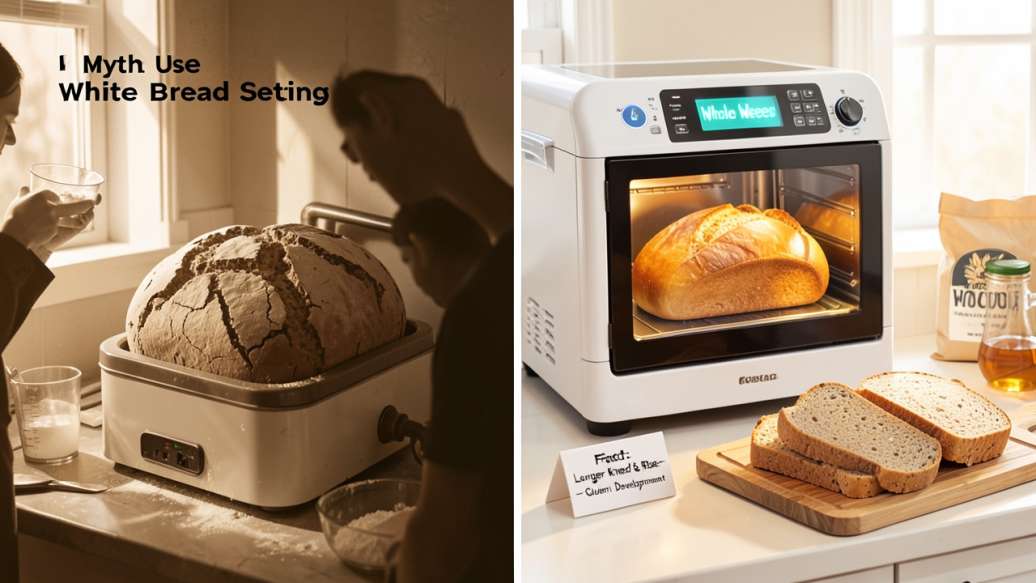
Myth 2: You Can Use the White Cycle for Whole Wheat Flour to Save Time
This is the most common mistake. The white cycle is shorter. It does not give the bran enough time to soften. It also does not develop enough gluten structure to support the heavy dough. The result is a dense, crumbly loaf that may collapse.
Fact: Always use the whole wheat setting for any recipe that contains more than 50% whole wheat flour. Using a shorter cycle starves the dough of the processing time it needs to build structure.
Myth 3: Adding More Yeast Fixes a Dense Whole Wheat Loaf
A dense loaf is usually a gluten problem, not a yeast problem. Adding more yeast creates more gas. But if the gluten network is weak, the gas escapes. The loaf falls flat. The extra yeast also gives the bread a yeasty, unpleasant flavor.
Fact: Fix density by adding vital wheat gluten (1 tablespoon per cup of whole wheat flour) or by using the autolyse rest. These methods strengthen the gluten structure so it can hold the gas the yeast produces.
How to Improve Your Machine’s Whole Wheat Setting
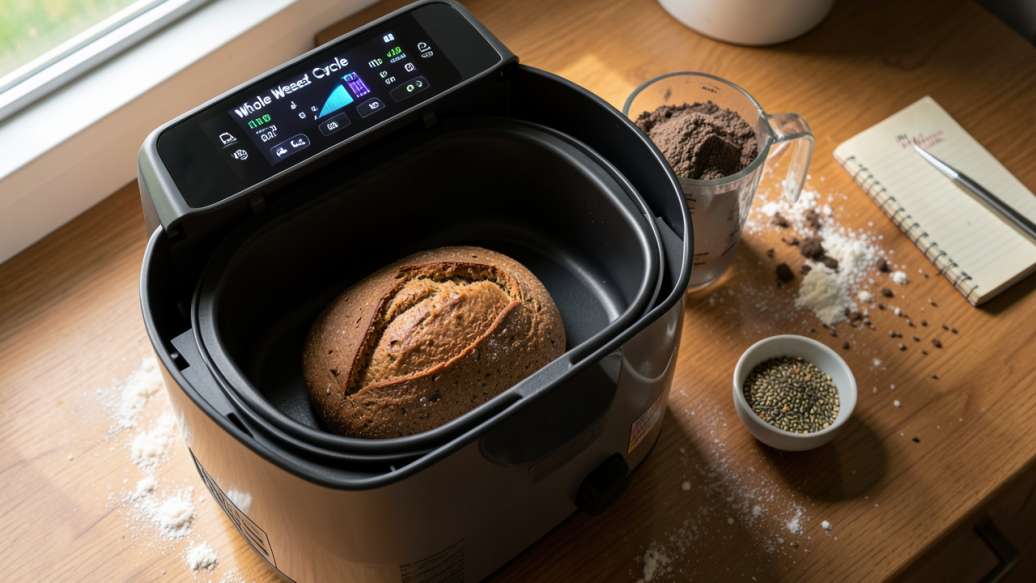
Your whole wheat bread machine settings are a starting point. You are a better baker than the machine’s pre-programmed logic. Use these adjustments to get a taller, lighter loaf every time.
- Use vital wheat gluten: It adds extra protein to the flour. This strengthens the dough. Add 1-2 tablespoons per loaf. It is safe and natural.
- Pre-soak the flour: If your machine does not have a rest period, help it by mixing the flour and water outside the machine. Let it sit for 30 minutes. Then add the rest of the ingredients.
- Check the dough ball: After the first 10 minutes of kneading, open the lid. The dough should form a smooth, tacky ball that cleans the sides of the pan. If it is crumbly, add water. If it is sticky slop, add flour.
- Replace some liquid with buttermilk or yogurt: The acid in dairy products relaxes gluten and improves the flavor. It also helps the loaf brown better.
- Add a little oil: Fat tenderizes the dough. It also gives the machine a slightly softer crumb. Use 1-2 tablespoons of olive oil or melted butter.
Resources and Tools for Better Whole Wheat Bread
King Arthur Baking Company – An excellent source for whole wheat flour, vital wheat gluten, and expertly tested bread machine recipes.
Red Star Yeast – Offers guides on yeast types and how altitude impacts bread machine cycles.
The Fresh Loaf – A community baking forum where you can search for your specific bread machine model and see what settings other bakers use for whole wheat.
Frequently Asked Questions
Why is my whole wheat bread so dense and short?
The bran cuts the gluten strands as the dough mixes. This weakens the structure. Add vital wheat gluten (1 tablespoon per cup of flour) or use an autolyse rest to soften the bran before the main knead cycle begins.
Can I use the whole wheat setting for white bread?
Technically, yes. But the bread will be over-kneaded and have a coarser, tougher texture. The longer rise may also cause the dough to over-proof and collapse. It is best to match the setting to the flour type.
What is the difference between the “Whole Wheat” and “Whole Grain” setting?
The “Whole Grain” cycle is even longer than the “Whole Wheat” cycle. It is designed for very heavy doughs like rye, spelt, or multi-grain blends that include seeds. These flours absorb water very slowly and need more time to develop structure.
Do I need to use a specific type of yeast for the whole wheat setting?
Instant yeast (also labeled as “rapid rise,” “quick rise,” or “bread machine yeast”) works best. It is designed to be mixed directly with dry ingredients. Active dry yeast needs to be proofed in warm water first, which complicates the delay timer function.
How does altitude affect my whole wheat bread machine cycle?
At high altitude, the lower atmospheric pressure lets dough rise much faster. The long whole wheat cycle can easily over-proof the loaf, causing it to collapse in the oven. Reduce the yeast by 1/4 teaspoon to slow down the rise and get a more stable structure.
Final Thoughts
Whole wheat bread machine settings exist to solve a real problem. The dense, heavy nature of whole wheat flour requires more time for hydration and gluten development. The differences between machines come down to engineering choices and recipe testing. Take the time to learn how your specific machine behaves. Test your dough consistency and adjust your liquid amounts. You will soon produce whole wheat loaves that are light, flavorful, and evenly baked.