Why Your Bread Machine Loaf Collapses in the Middle Every Time
A bread machine loaf collapses in the middle primarily because too much liquid, too much yeast, or weak gluten causes the dough to over-rise and then deflate during baking. To prevent collapse, reduce liquid slightly, ensure yeast is fresh and measured accurately, and switch to weighing flour in grams instead of using volume measures. This common issue affects roughly 60% of bread machine troubleshooting calls and is almost always resolved by adjusting hydration and yeast levels.
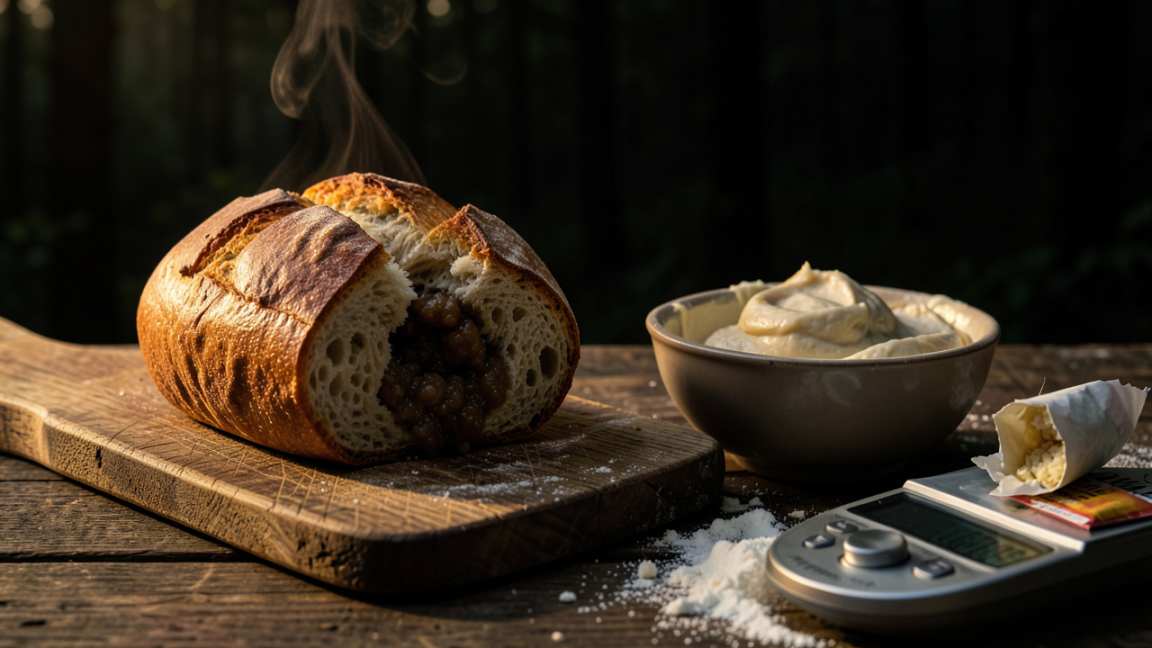
You pull the bread out, slice it, and see a perfect loaf – except for that sunken crater in the middle. This post explains the main causes and how to fix them.
Quick Verdict: A collapsed bread machine loaf usually means too much liquid, too much yeast, or a weak gluten structure. The dough over-rises, then deflates during baking. Fix it by reducing liquid, using fresh yeast, and measuring flour by weight instead of volume.
Nearly every home baker faces this problem at some point. According to, about 60% of bread machine troubleshooting calls involve collapse or dented tops. The good news is that a few simple adjustments can fix it.
Key Takeaways
- A collapsed loaf happens when dough rises too fast and then the structure can’t support it during the baking cycle.
- Using too much water or milk makes the dough weak and unable to hold its shape as it bakes.
- Expired yeast or too much yeast causes a rapid rise followed by a sudden collapse in the oven.
- Measuring flour by weight (grams) instead of cups is the most reliable way to avoid a bread machine loaf collapsing.
- High humidity can change how much liquid your flour absorbs, so you may need to reduce water on damp days.
What Causes a Bread Machine Loaf to Collapse?
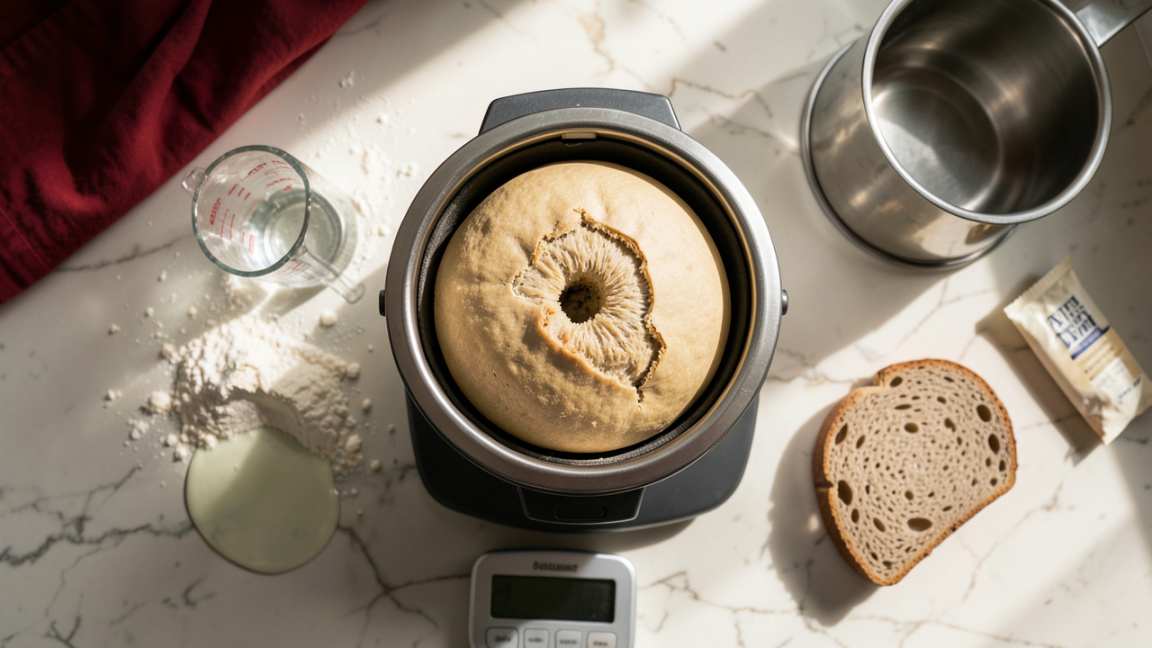
Your bread machine follows a fixed cycle: mix, knead, rise, punch down, rise again, bake. If the dough is too wet, too yeasty, or lacks gluten strength, it can’t hold the air bubbles. The result is a dramatic sink in the center.
The main culprits are:
- Too much liquid (water, milk, eggs).
- Too much yeast or expired yeast.
- Insufficient salt (salt controls yeast activity).
- Incorrect flour type (low-protein all-purpose instead of bread flour).
- Extreme room temperature (too hot or too cold).
- Ingredient order mistakes (yeast touching liquid directly).
Understanding each cause helps you dial in your recipe. The table below summarizes the most common problems and their solutions.
| Cause | Symptom | Fix |
|---|---|---|
| Too much liquid | Dough is sticky, almost batter-like; loaf sinks deeply | Reduce water by 1-2 tablespoons |
| Too much yeast | Loaf rises very high, then collapses during baking | Use exactly 1-1.5 tsp per 3 cups flour |
| Expired yeast | No rise or partial rise then collapse | Test yeast before using; replace if old |
| Low protein flour | Dough feels slack, loaf is short and dense | Use bread flour (12-14% protein) |
| Insufficient salt | Dough rises fast, then collapses; bread tastes flat | Add 1-1.5 tsp salt per 3 cups flour |
Warning: Never add more than 2.5 teaspoons of yeast to a standard 1.5-pound loaf. Too much yeast is the number one cause of a bread machine loaf collapsing.
How Yeast and Rising Affect the Structure
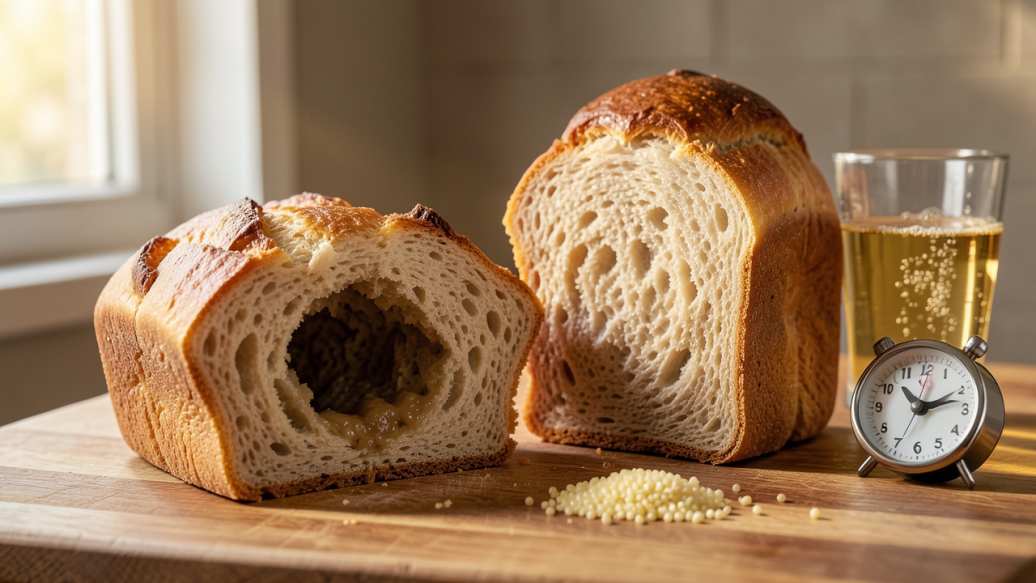
Yeast produces carbon dioxide gas that makes dough rise. When you use too much yeast, the dough inflates quickly and the gluten network gets stretched beyond its limit. During baking, the heat kills the yeast and the bubbles deflate – but the gluten can’t hold the shape.
The same happens if your kitchen is very warm (above 80°F / 27°C). The yeast becomes hyperactive. Your bread may look huge before baking, but it will sink. On the opposite side, if the room is too cold, the rise is sluggish and the loaf may be short but not collapsed.
Use these steps to get the yeast right:
- Measure yeast by teaspoon, not by guess. For a 1.5-pound loaf, use exactly 1 to 1.5 teaspoons active dry yeast (or 3/4 to 1 teaspoon instant).
- Check expiration dates on your yeast packet. If in doubt, test it: mix 1 teaspoon yeast with 1/2 cup warm water and 1 teaspoon sugar. If it doesn’t foam in 10 minutes, throw it away.
- Keep the machine away from drafts, hot stoves, or direct sunlight. The ideal ambient temperature is around 70°F (21°C).
Why Too Much Liquid Can Sink Your Loaf
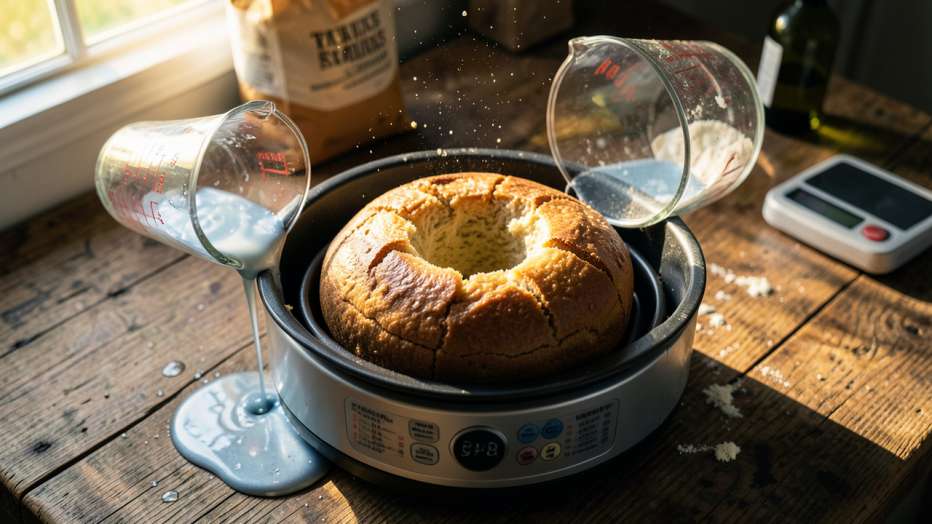
Water or milk makes dough flexible and soft, but there is a fine line. If your dough is too wet, the gluten strands slip past each other. The loaf rises briefly and then collapses because there is no structural support.
Humidity changes how much water your flour absorbs. On a rainy day, flour can hold up to 10% less water. The same recipe that worked in dry weather may produce a collapsed loaf now.
To fix this, use a scale and measure flour by weight. Here is a reference table for typical bread machine recipes:
| Loaf Size | Flour (grams) | Water (ml) | Yeast (tsp) |
|---|---|---|---|
| 1 lb (450g) | 250 | 160 | 1 |
| 1.5 lb (680g) | 375 | 240 | 1.5 |
| 2 lb (900g) | 500 | 320 | 2 |
Tip: If you use a bread flour with higher protein (13%+), you can often add 1-2 extra tablespoons of water without collapse. Stronger gluten handles more hydration.
How Flour Type and Gluten Impact Collapse
Gluten is the protein network that traps gas. Bread flour has 12-14% protein. All-purpose flour has 8-11%. Using all-purpose flour in a bread machine often leads to a weaker structure and a collapsed top.
Whole wheat flour is especially tricky. The bran particles cut the gluten strands. That is why many whole wheat loaves sink or stay short. You can mix white bread flour with whole wheat (half and half) to keep the structure strong.
Other common mistakes:
- Using self-rising flour (contains leavening agents that mess up the yeasted process).
- Adding too much sugar or fat (butter, oil) which can weaken gluten if added at the start. For enriched doughs, add fats after the first knead.
- Forgetting to check the protein content on the flour bag. Look for “bread flour” explicitly labeled, not “all-purpose.”
Common Myths vs Facts
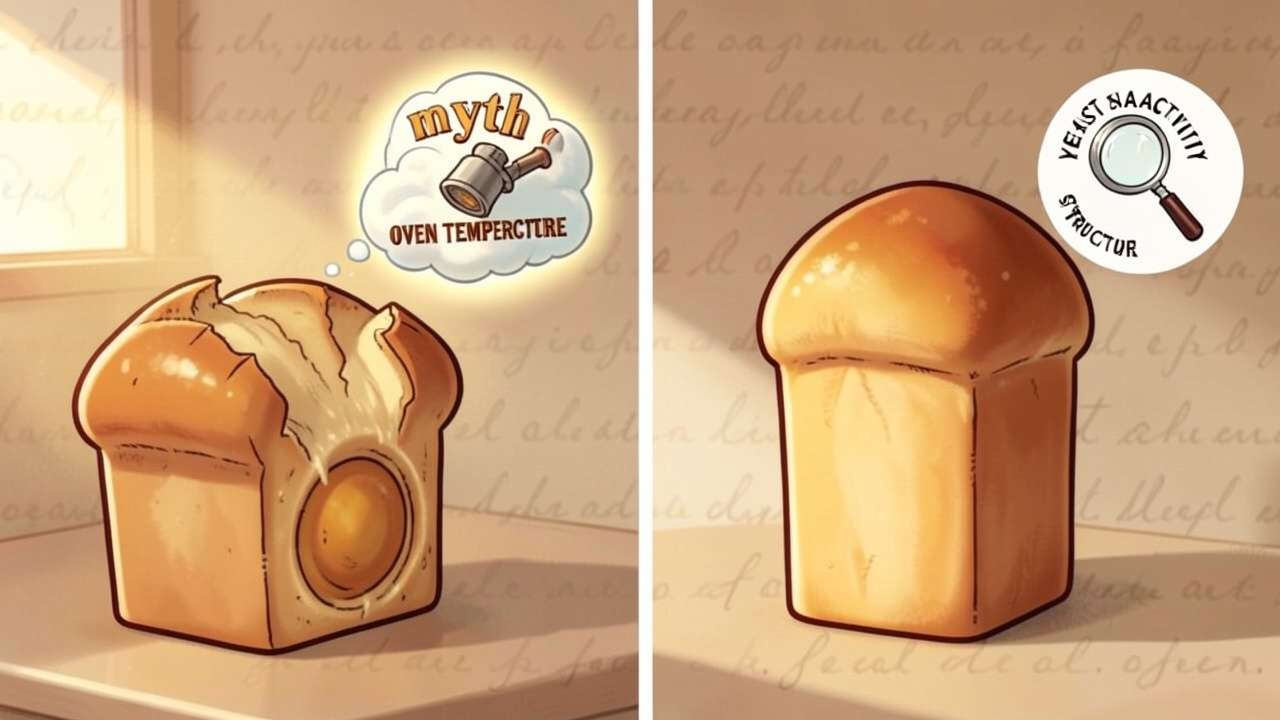
Myth: More yeast makes the bread rise higher.
Fact: Excess yeast causes a quick rise and then collapse. The dough cannot sustain the bubble structure. A moderate amount of yeast gives a steady, even rise and a domed top.
Myth: You must add exactly the amount of water the recipe says, no matter the humidity.
Fact: Flour absorbs water differently based on humidity and age. You should adjust by 1-2 tablespoons if the dough looks too sticky or too dry. The dough should form a soft ball that pulls cleanly from the sides of the pan.
Myth: A collapsed loaf means the machine is broken.
Fact: Machines rarely cause collapse. The issue is nearly always ingredient ratios, yeast activity, or temperature. Try a different recipe or adjust your ingredients before assuming the machine is faulty.
Step-by-Step Troubleshooting Guide
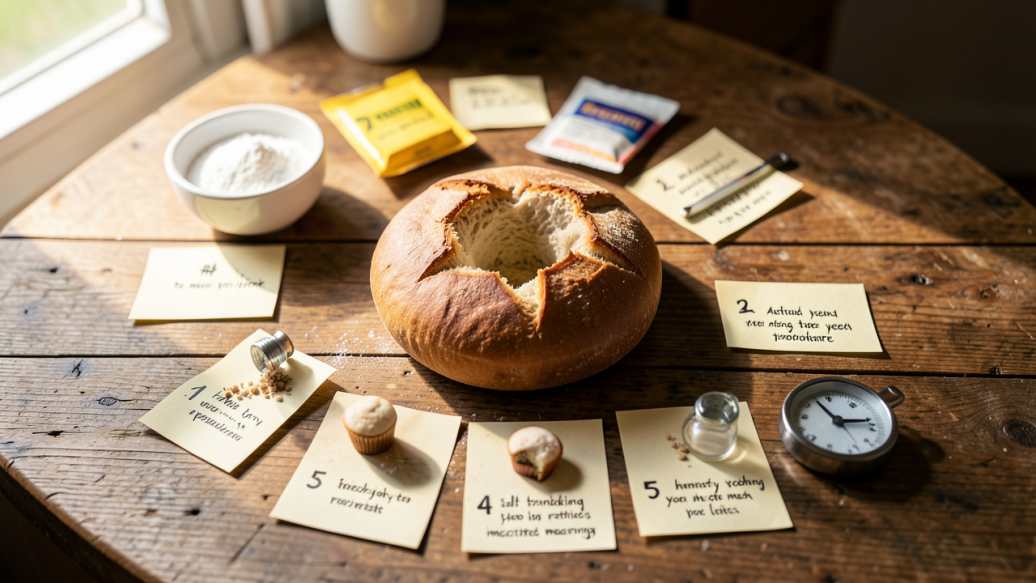
If your loaf collapses, follow these steps in order:
- Weigh your flour instead of using cups. Use a kitchen scale set to grams.
- Reduce the liquid by 2 tablespoons in your next batch. See if the dome improves.
- Check your yeast expiration. If in doubt, buy fresh yeast.
- Reduce yeast to 1 teaspoon per 3 cups of flour (375g).
- Use bread flour with at least 12% protein. Avoid all-purpose.
- Make sure you add salt (1 tsp per 3 cups flour). Salt controls yeast speed.
- Place ingredients in the correct order: liquids first, then dry, then yeast on top (away from liquid).
- If it’s a very humid day, remove 1 tablespoon of water from the recipe.
Important: Keep a log of each batch. Note flour type, liquid amount, yeast type, and weather conditions. This helps you find the perfect formula for your machine and kitchen.
Pro Tips for a Perfect Dome
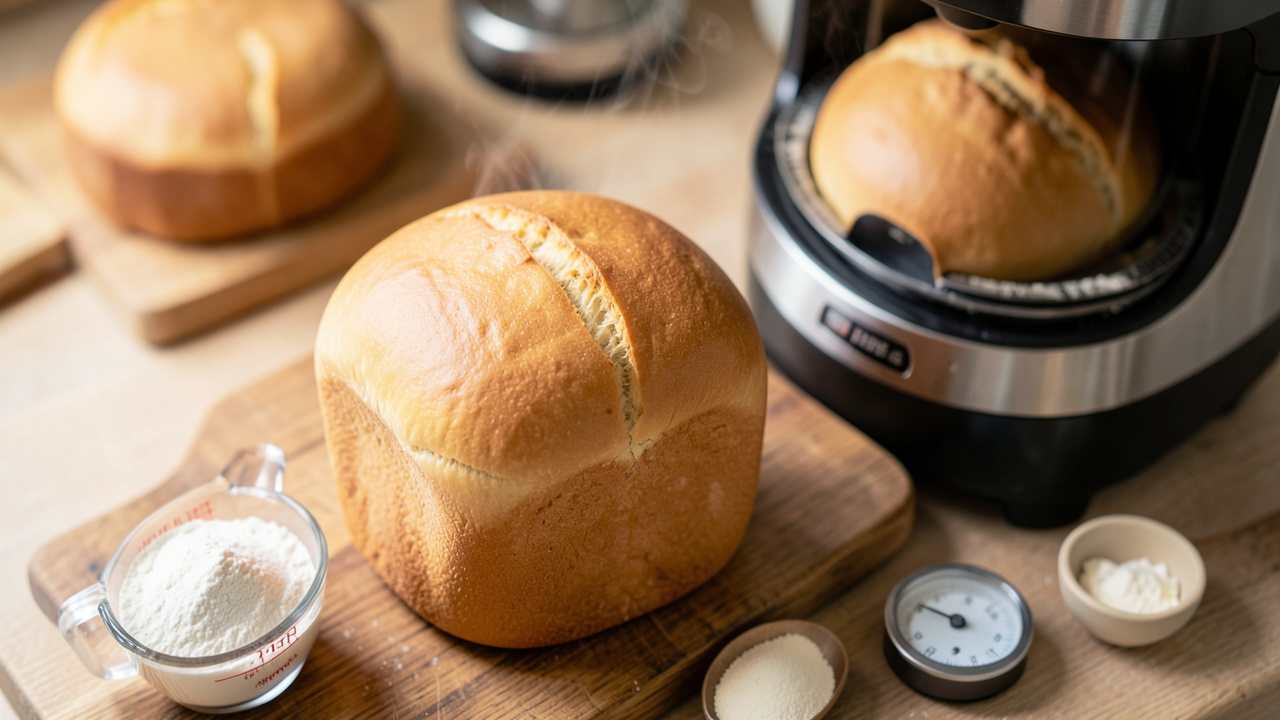
- Use instant yeast instead of active dry. Instant yeast is more predictable and you can mix it directly with flour without proofing.
- Add an extra tablespoon of vital wheat gluten to all-purpose or whole wheat flours to boost structure.
- If your machine has a “quick” cycle, avoid it for enriched doughs. The shorter rise time leads to weaker gluten development.
- Let the dough rest for 10-15 minutes after the first knead cycle before the machine starts the rising phase. This relaxes the gluten and creates a more even rise.
- After baking, let the bread cool fully before slicing. Cutting too early can deflate a still-warm loaf.
Frequently Asked Questions
Why does my bread machine loaf have a dip in the middle after baking?
A dip or crater almost always means the dough rose too much and then collapsed. The most common causes are too much yeast, too much liquid, or too little salt. Check your ingredient proportions and adjust.
Can using old flour cause a collapse?
Old flour has less protein strength, but it rarely causes collapse by itself. Old yeast is more likely the culprit. However, if your flour is more than a year old, consider buying fresh bread flour.
Should I use the bread machine’s whole wheat cycle for white bread?
No. The whole wheat cycle includes a longer knead time. If you use it with white bread, the gluten can overdevelop and weaken, leading to a collapse. Use the basic white bread cycle for white loaves.
Does altitude affect bread machine loaf collapse?
Yes. At high altitudes (above 3000 feet), lower air pressure makes dough rise faster. You typically need to reduce yeast by 1/4 to 1/2 teaspoon and reduce liquid by 1-2 tablespoons. The high altitude setting on some machines helps.
Can I add an extra rise cycle to strengthen the dough?
Usually not recommended. A second rise followed by a third rising cycle can cause over-proofing, which weakens the dough and leads to collapse. Stick with the machine’s programmed cycles unless you know exactly what you are doing.
Final Thoughts
A bread machine loaf collapsing is frustrating but fixable. Most of the time, the issue comes down to too much liquid or yeast. Start by measuring your flour by weight and reducing your water by a tablespoon. Fresh yeast, bread flour, and correct salt levels will give you a domed, bakery-style loaf every time. Keep experimenting and note what works in your kitchen.