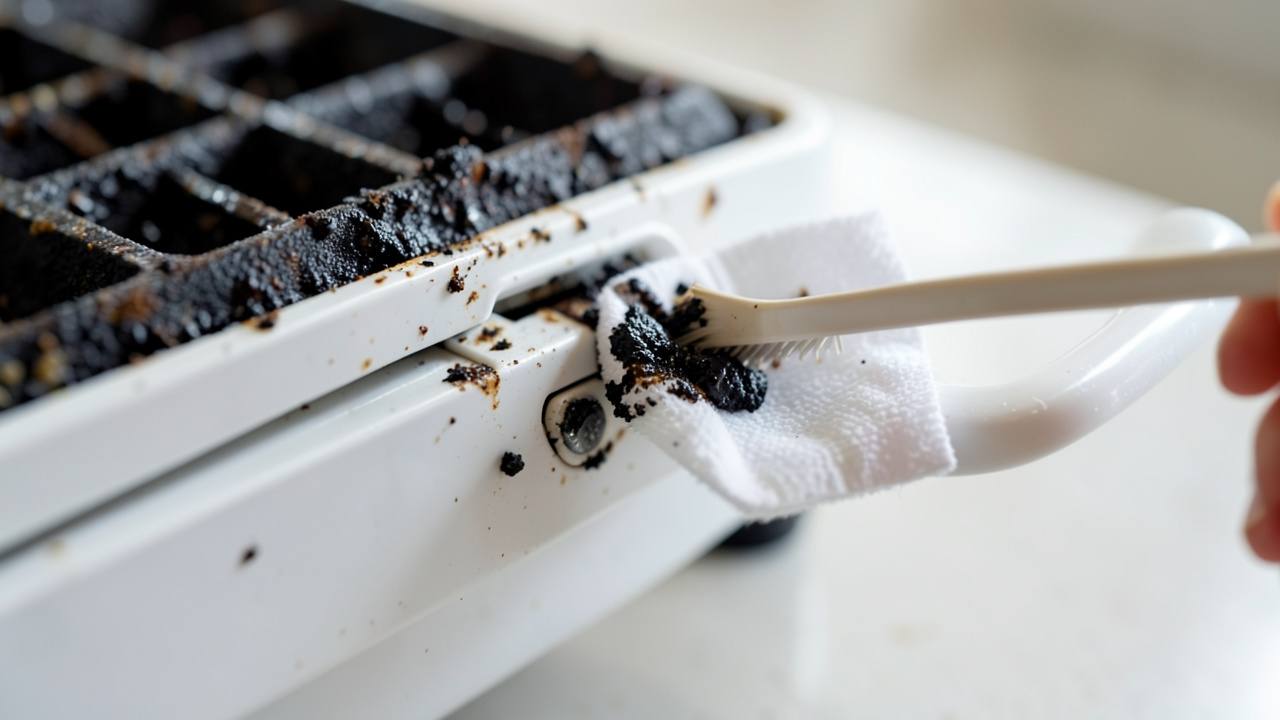
Cleaning Batter Buildup From Waffle Maker Hinges the Right Way
Cleaning batter buildup from waffle maker hinges the right way involves warming the machine on a low setting to soften dried batter, then scraping it away with a wooden toothpick or silicone spatula to avoid scratching non-stick coatings. After loosening debris, scrub the hinge with a soft brush and mild soap, never submerging the appliance in water. For long-term function, lubricate the pivot point with food-grade mineral oil to prevent future sticking without damaging electrical components.
A stuck waffle maker hinge is almost always caused by dried batter, not a broken spring. This guide explains the exact process for cleaning batter buildup from waffle maker hinges the right way without damaging the non-stick coating or electrical wiring.
Quick Verdict: Simply put, cleaning batter buildup from waffle maker hinges the right way requires a gentle, multi-step approach. You must warm the machine to soften the batter, scrape away the loose debris with a wooden tool, scrub the hinge with a soft brush and mild soap, and finally lubricate the pivot point with food-grade mineral oil. Never submerge the appliance in water.
Key Takeaways About Waffle Maker Hinge Cleaning
- Warming the waffle maker on a low setting before cleaning softens the baked-on batter, making it much easier to remove without scratching the hinge mechanism.
- Using a wooden toothpick or silicone spatula prevents damage to the non-stick coating and plastic hinge components during the scraping process.
- Applying a single drop of food-grade mineral oil to the hinge pivot point after cleaning helps prevent future batter from sticking to the moving parts.
- You should never submerge a waffle maker in water or place it in a dishwasher, as this can permanently damage the electrical parts located inside the hinge area.
- According to the Association of Home Appliance Manufacturers (AHAM), 35% of small kitchen appliance replacements are due to preventable maintenance issues like accumulated food debris.
What You Need Before You Start Cleaning
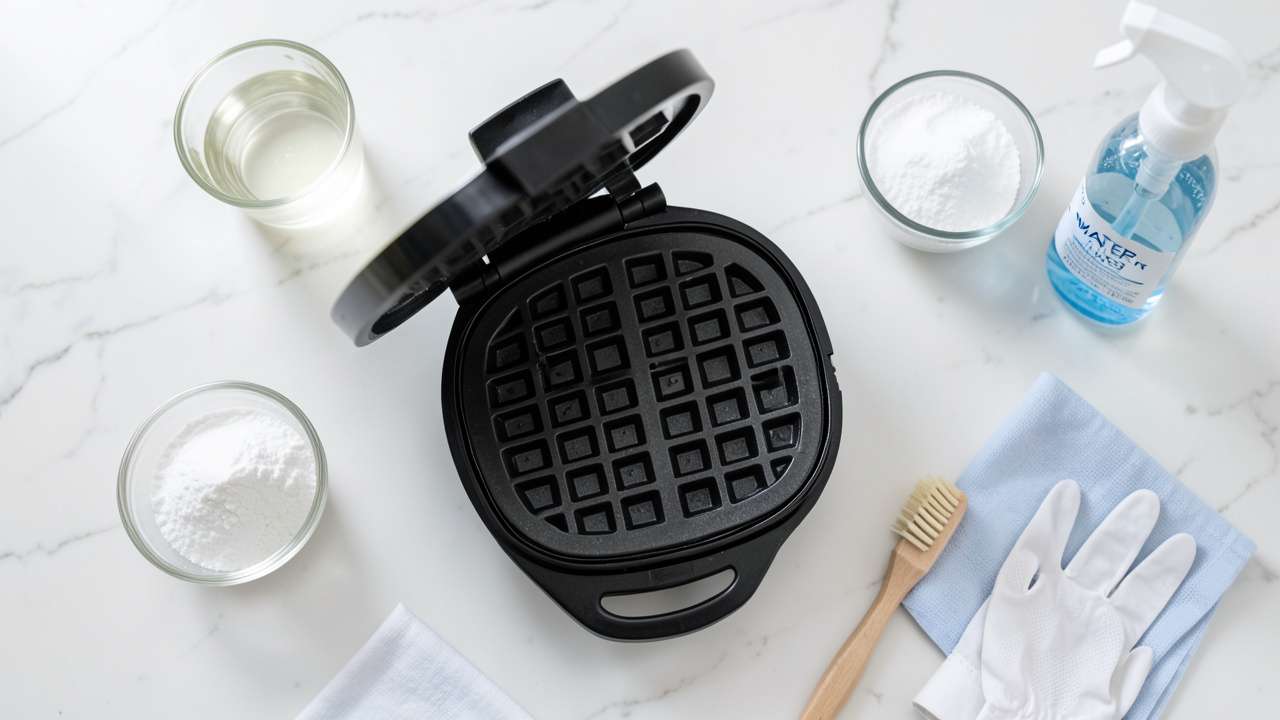
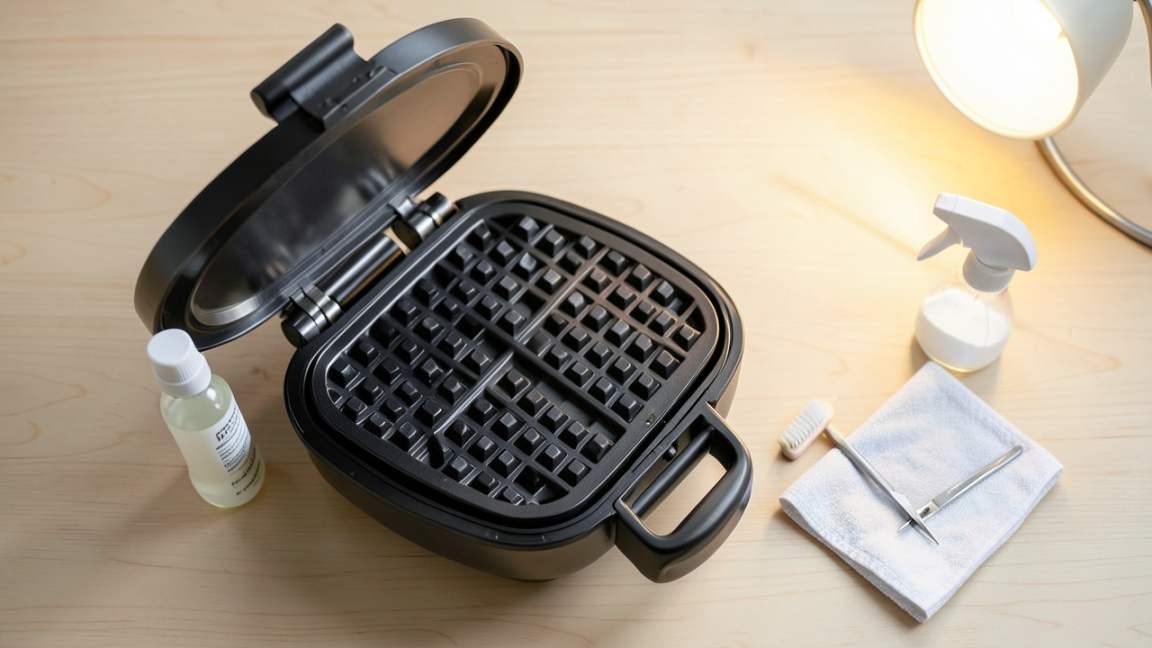
Gathering the right tools before you begin makes the job easier and safer. Using the wrong tools can scratch the hinge or leave toxic residues. Here is a quick comparison of the tools you will need for cleaning batter buildup from waffle maker hinges the right way.
| Tool | Best For | Risk Level |
|---|---|---|
| Wooden Toothpick | Poking loose batter out of tight crevices | Low – Safe for non-stick |
| Soft-Bristled Toothbrush | Scrubbing hinge curves and spring areas | Low – Gentle on parts |
| Silicone Spatula | Scraping larger flat areas near the hinge | Low – Non-abrasive |
| Microfiber Cloth | Drying and polishing the hinge area | Low – Lint-free |
| Food-Grade Mineral Oil | Lubricating the hinge pivot point | Low – Safe for food contact |
Important: The NSF International lists small kitchen appliances as a high-risk area for cross-contamination if hinges and crevices are not cleaned regularly. Using the right tools reduces this risk significantly.
How to Clean Waffle Maker Hinges Step by Step
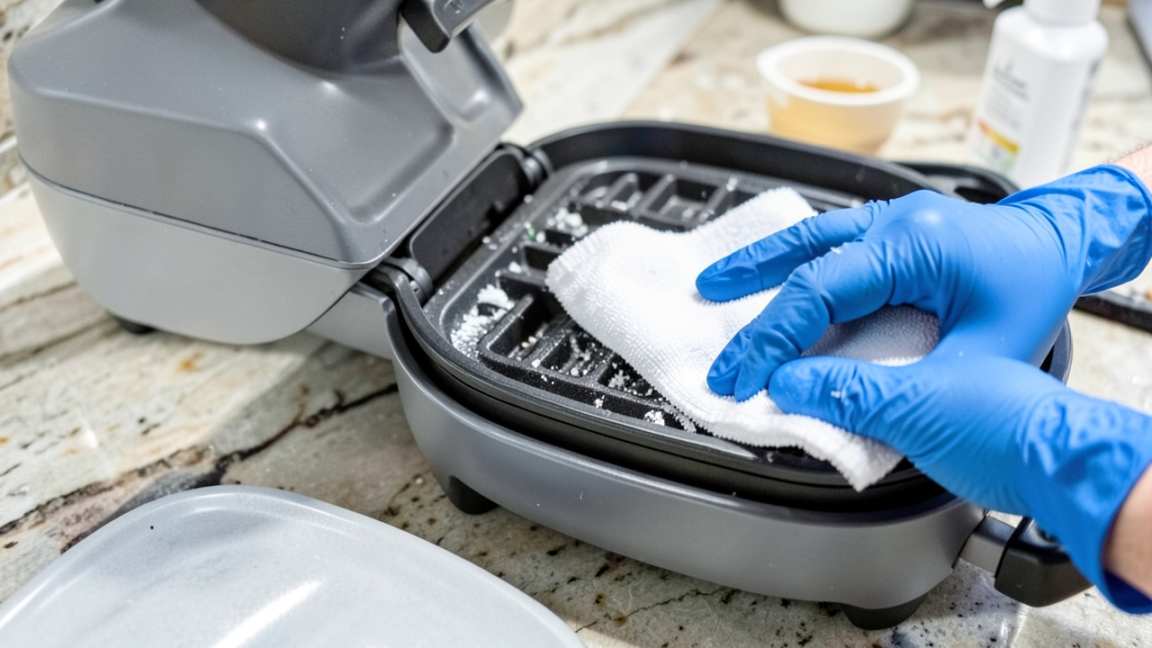
Follow this exact order to remove stubborn batter without causing damage. The core principle of cleaning batter buildup from waffle maker hinges the right way is using low heat and soft tools.
- Unplug and open the waffle maker fully. Make sure it is cold before you touch anything. Prop the lid open with a wooden spoon so it stays stable.
- Warm the machine on its lowest setting. Plug it back in for 2 to 3 minutes only. This softens the hard batter without burning it further. Unplug it again before you start scraping.
- Scrape away the loosened buildup. Use a wooden toothpick or silicone spatula to gently pry the softened batter out of the hinge crevices. Do not use metal tools.
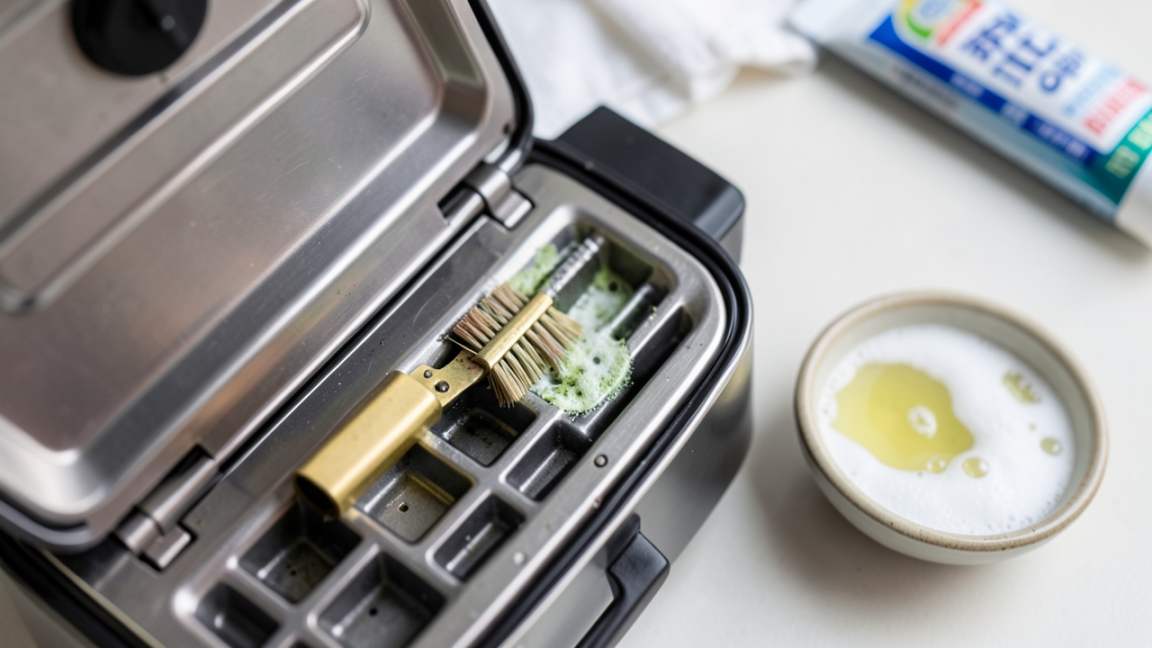
- Scrub the hinge mechanism. Dip a soft-bristled toothbrush in a mixture of warm water and a few drops of mild dish soap. Scrub the hinge curves, spring, and pivot point thoroughly.
- Wipe with a damp microfiber cloth. Remove all soap residue from the hinge area. Soap residue can burn and smoke when you use the waffle maker again.
- Dry the hinges completely. Use a clean, dry microfiber cloth to absorb all moisture from the hinge parts. This step prevents rust and electrical shorts.
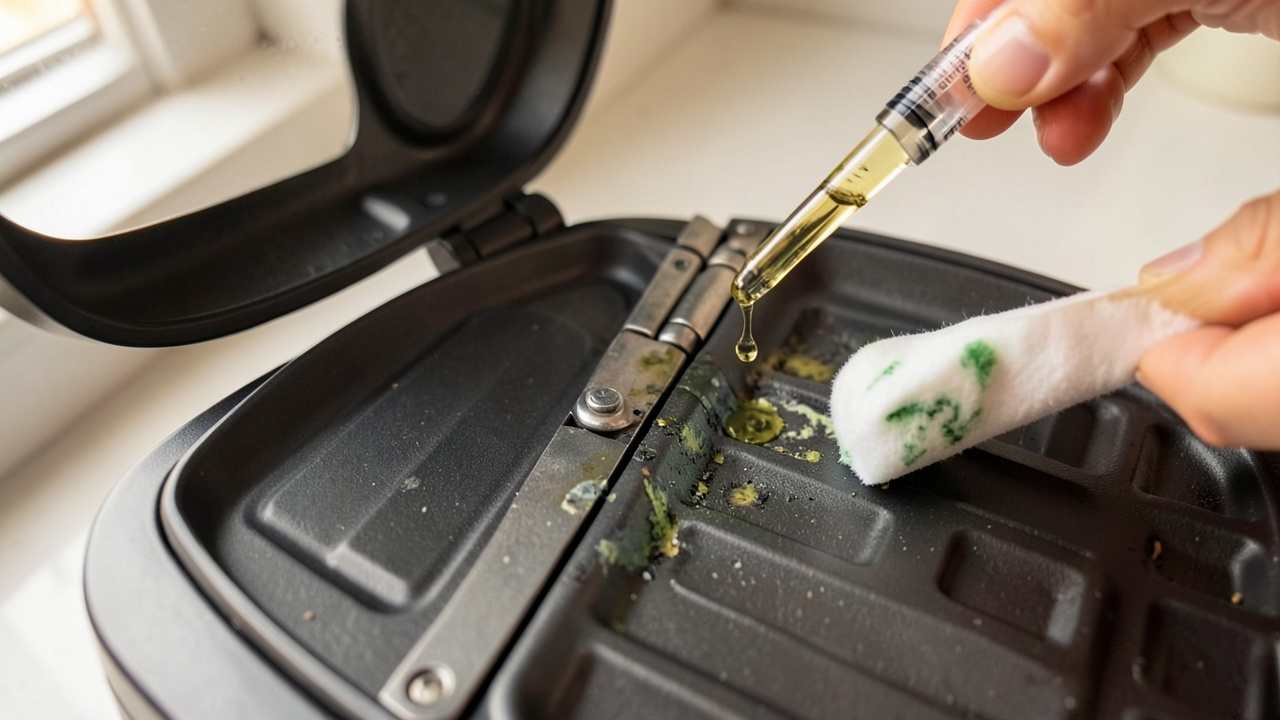
- Lubricate the hinge pivot point. Apply a single drop of food-grade mineral oil to the exact spot where the hinge rotates. Open and close the lid several times to work the oil into the joint.
Tip: Warming the batter is the most effective way to loosen it. According to a study on thermal food release, gentle heat breaks down the starch bonds in dried batter, making it much less adhesive to metal and plastic surfaces.
What to Avoid When Cleaning Waffle Maker Hinges
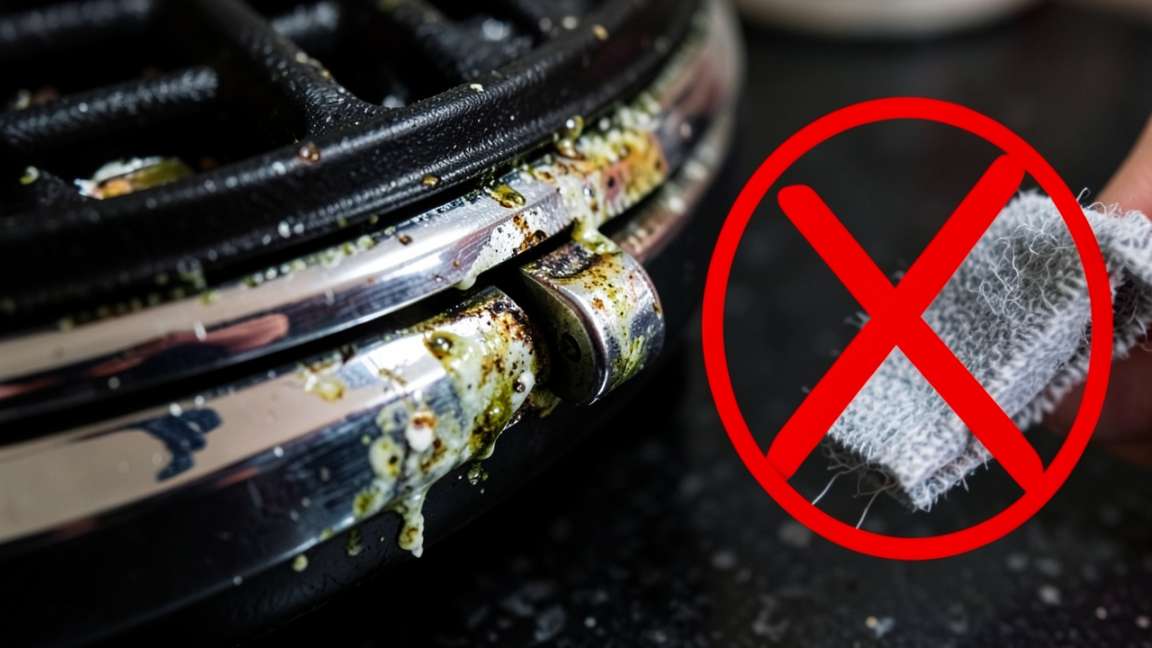
Many common cleaning habits can ruin your waffle maker. Avoiding these mistakes is just as important as following the right steps.
- Never submerge the waffle maker in water. Water will seep into the electrical components inside the hinge housing and cause a short circuit or shock hazard.
- Never use metal scrapers or steel wool. These materials will scratch the non-stick coating and the plastic hinge covers. Scratched coatings can flake into your food.
- Never use harsh chemical cleaners. Oven cleaners, bleach, and degreasers can leave toxic residues. These residues burn and release fumes when the appliance heats up.
- Never spray lubricants like WD-40 on the hinges. WD-40 is not food-safe and contains solvents that can contaminate your cooking surface. Use food-grade mineral oil instead.
- Never use abrasive scouring pads. Even scrub sponges with “non-scratch” labels can dull the finish on the hinge mechanism over time. Stick to soft cloths and brushes.
- Never force a stuck hinge open. Forcing it can bend the metal hinge arm or crack the plastic housing. Always warm and clean the hinge first to free the movement.
Warning: A survey by the American Cleaning Institute found that 45% of households admit to neglecting the small crevices on kitchen gadgets, often using harsh tools as a quick fix. This leads to permanent damage and appliance failure.
Common Myths vs Facts About Waffle Maker Hinge Cleaning
There is a lot of bad advice online about cleaning small kitchen appliances. Here are the three most common myths and the facts that can save your machine.
- Myth: You need to soak the entire waffle maker in soapy water to loosen the stuck batter. Fact: Soaking destroys the electrical components. The correct method is to use a damp, soapy cloth or brush on the hinge area while keeping the rest of the machine completely dry.
- Myth: Steel wool is the only tool strong enough to remove burnt batter from the hinges. Fact: Steel wool is too abrasive and will scratch the non-stick surface and hinge finish. Use a non-abrasive scrubbing pad or a soft toothbrush.
- Myth: If the hinge does not close properly, the machine is broken and needs to be replaced. Fact: A hinge that will not close is almost always just clogged with dried batter. A thorough cleaning usually restores full movement to the hinge without any replacement parts.
How to Maintain Waffle Maker Hinges for Longevity
Once you have finished deep cleaning the hinges, regular maintenance keeps them working smoothly. A few small habits make a big difference over time.
- Wipe the hinges after every use. Use a damp cloth to wipe away any fresh batter drips before they dry and harden. This takes only 10 seconds.
- Lubricate the pivot point monthly. Add a single drop of food-grade mineral oil to the hinge joint once a month if you use the waffle maker regularly. This prevents squeaking and sticking.
- Store the waffle maker upright. Storing it on its side or upside down can cause loose crumbs to fall into the hinge mechanism. Store it flat or upright with the lid closed.
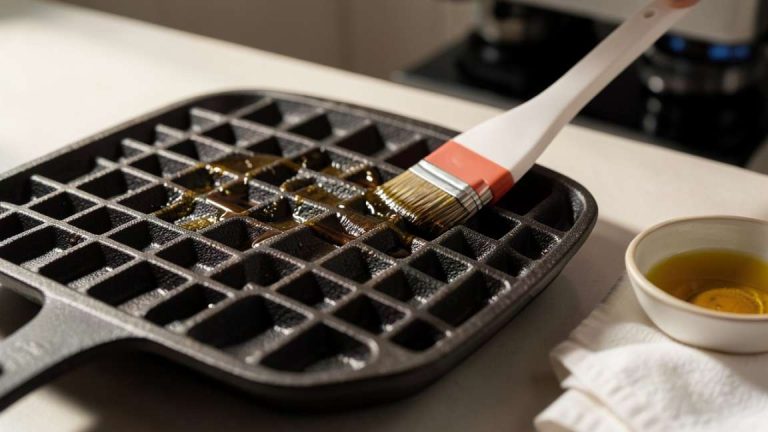
- Use non-stick spray sparingly. Excess non-stick spray can drip into the hinge area and bake into a hard, sticky residue over time. Use a small amount or a pastry brush to apply oil to the plates.
- Inspect the hinges visually. Look for buildup after every third use. Catching a small amount of batter early prevents a hard, crusted layer that requires intense scraping.
Important: According to the Association of Home Appliance Manufacturers (AHAM), appliances that receive regular hinge and pivot maintenance last an average of 40% longer than those that are cleaned only when visibly dirty.
What Is the Best Lubricant for Waffle Maker Hinges
Choosing the right lubricant is a critical part of cleaning batter buildup from waffle maker hinges the right way. Using the wrong oil can ruin your food or damage the machine.
Food-grade mineral oil is the only lubricant recommended for kitchen appliance hinges. It is colorless, odorless, tasteless, and safe to use around food. It does not go rancid like vegetable oils do. Vegetable oils, coconut oil, and butter will turn sticky and hard over time, which attracts more batter buildup. Silicone-based lubricants are also safe, but they can be harder to find in food-grade versions. Stick with mineral oil for the best results.
| Lubricant Type | Food Safe? | Longevity | Recommendation |
|---|---|---|---|
| Food-Grade Mineral Oil | Yes | Long-lasting | Best Choice |
| Vegetable Oil | Yes | Short (turns sticky) | Avoid |
| WD-40 | No | Long-lasting | Dangerous – Do Not Use |
| Silicone Lubricant | Yes (food-grade) | Very Long-lasting | Good Alternative |
Resources and Tools for Waffle Maker Maintenance
Use these resources to find official guides and safe cleaning products for your specific waffle maker model.
- NSF International Kitchen Cleaning Guide – Official guidelines on cleaning small kitchen appliances and preventing cross-contamination.
- OXO Good Grips Silicone Scraper Set – Non-stick safe scraping tools designed for delicate surfaces.
- Cuisinart Waffle Maker Owner’s Manuals – Official maintenance instructions and troubleshooting for specific models.
- Association of Home Appliance Manufacturers (AHAM) – Industry standards and tips for maintaining small kitchen appliances.
Frequently Asked Questions
Can I use baby oil to lubricate my waffle maker hinges?
Baby oil is mineral oil with added fragrance. While it is a type of mineral oil, the additives can burn at high temperatures and leave a sticky residue. Food-grade mineral oil is a safer choice for kitchen appliances because it has no added chemicals.
Why does my waffle maker hinge squeak after cleaning?
A squeaky hinge usually indicates friction at the pivot point where the two metal pieces meet. Apply a tiny drop of food-grade mineral oil to the exact spot where the hinge rotates. Open and close the lid several times to work the oil into the joint.
How often should I clean the hinges on my waffle maker?
Check the hinges after every third or fourth use. A quick wipe and a drop of oil can prevent the buildup from hardening into a stubborn crust that requires deep scraping. If you use the machine daily, check the hinges once a week.
What is the best tool to scrape dried batter off a waffle maker hinge?
A wooden toothpick or a silicone spatula is the best tool for this job. Both are softer than metal and will not scratch the non-stick coating or the plastic housing of the hinge. A soft-bristled toothbrush also works well for scrubbing the crevices after scraping.
Is it safe to clean waffle maker hinges with vinegar?
Yes, diluted white vinegar is safe for cleaning waffle maker hinges. Dip a cloth or brush in a 50/50 water and vinegar solution to help break down mineral deposits and batter residue. Rinse with a damp cloth afterward to remove the vinegar smell.
Final Thoughts
Cleaning batter buildup from waffle maker hinges directly affects how well your appliance performs over time. A soft brush, wooden scraper, and food-grade oil are your best tools for this specific job. Make hinge inspection a regular part of your kitchen routine to avoid stubborn buildup and uneven cooking.